WordPress is the content management system (CMS) which runs over 35% of the most visited websites in the world. Its huge user base generates an enormous amount of questions about its usage, features, the plugins it supports, and of course – the visuals.
With so much usage, there are some questions from users that pop up most often:
- How to modify the theme styles to fit my needs?
- What is the best plugin for the functionalities I need?
We will showcase some of the main ways users can solve their problems related to the way their site looks.
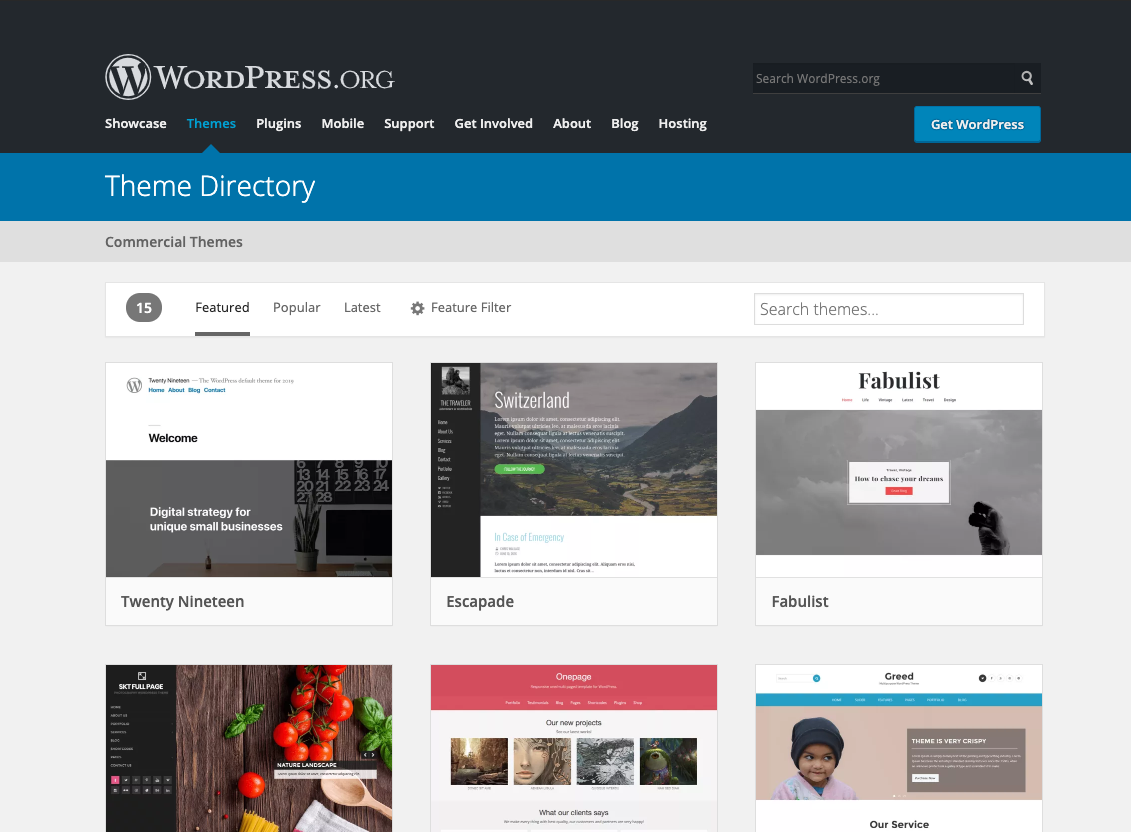
WordPress Themes
A WordPress theme is a collection of code, which defines the structure and style rules of your website. Its main purpose is to determine the site’s visual components and may or may not add custom functionality.
We will not go into the basics of finding and setting a theme. We will instead focus on how to modify aspects of it to suit your needs better.
Themes usually come with the following features:
- Theme Options – If you purchase a theme from a vendor, it’s quite likely that it comes with an options panel. Before you modify anything through code, make sure to check if there is already an option for what you’re trying to tweak.
- Theme Editor – This is a default feature in WordPress which lets you modify the code files of the theme. It is highly suggested to NOT do that. (We will touch on the reasons later.)
- Child Theme – If you work with a child theme (it may come as part of the main theme or you may develop one by yourself ), then make custom changes there.
- Customizer – The WordPress customizer is a place where you can make visual changes to your theme. Some customizers have custom settings, some do not, but all have the “Custom CSS” option to enter styling code.
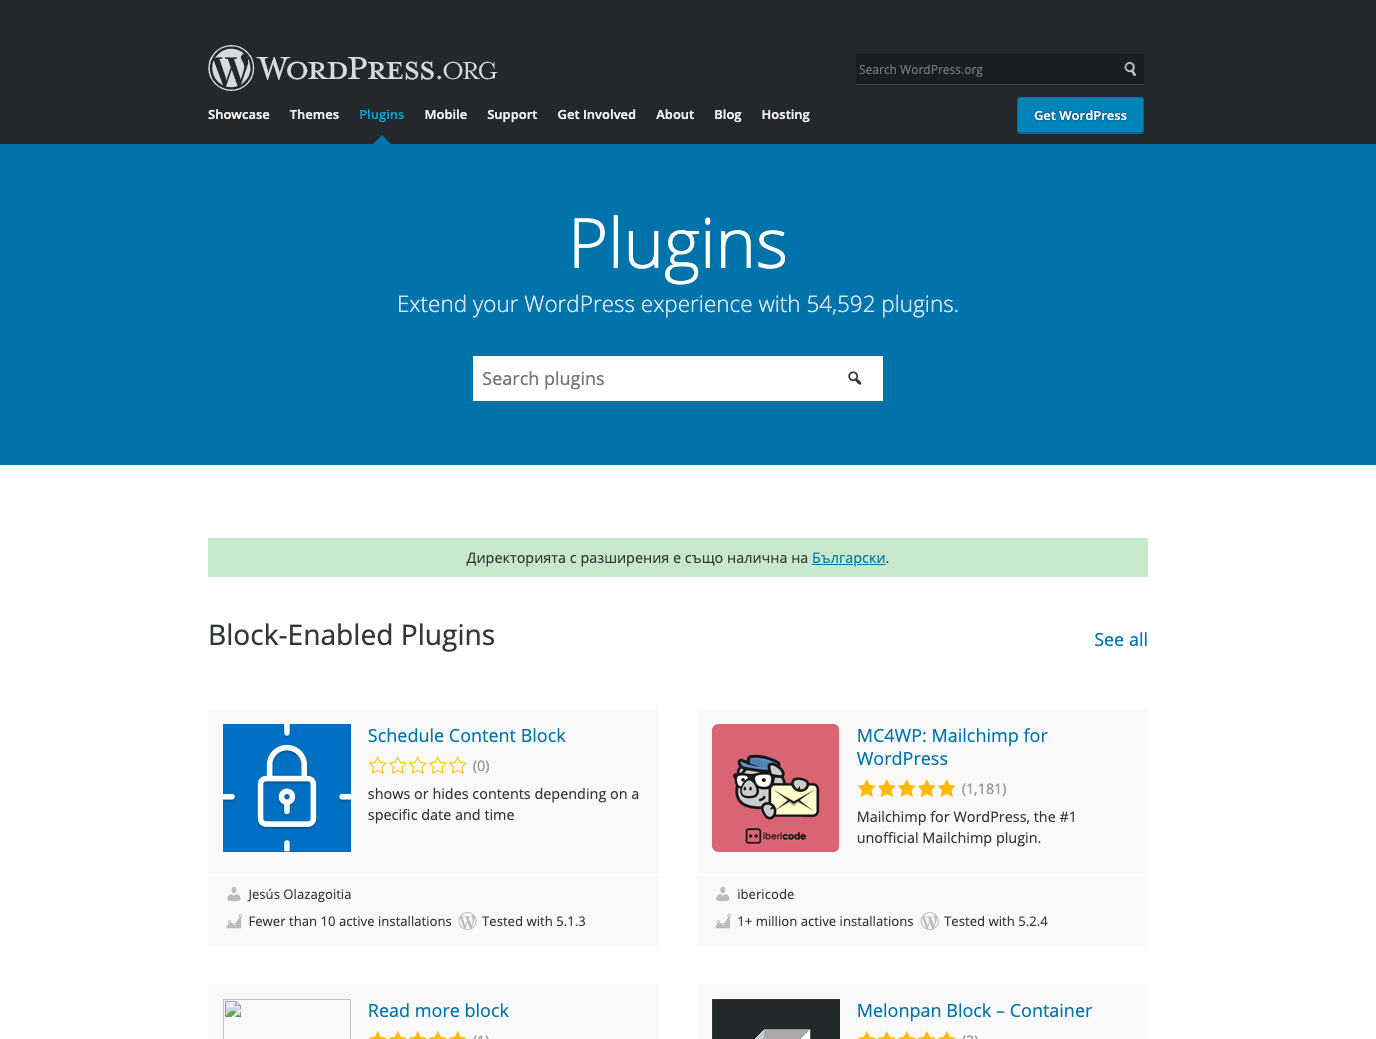
WordPress Plugins
Not all components on your site come from the theme you’ve installed. It’s very likely that some of them are generated by a plugin. Examples of such plugins are Contact Form 7, Jetpack, BBPress, Yoast SEO and others.
Most themes and plugins are developed by external vendors. They are tested for the various WordPress core versions but it is not possible to test the compatibility between thousands of themes and plugins on the market.
What is important here is that not all themes come with stylings that support the plugins code output. One of the most common reasons to apply custom styles to your theme is to support these third-party plugins.
It is important to note that style changes must happen within the theme, not in the plugins.
Apply CSS Changes to Your Site
Now with that general knowledge laid down, we can see how and where to apply styling changes to your website.
If you don’t know anything about CSS, there is an overview of it in a section below.
CSS is the language that defines how an HTML page should look. It sets rules like font size, color, background images, white space and the position of elements. It’s the most often used tool to define a page visually.
When you install a WordPress theme, you either use the WordPress dashboard to find a theme from the open-source wordpress.org repository or you can upload a premium theme purchased from a vendor. There are small differences between the two options.
When you purchase a theme, it’s common to receive support from the theme makers. We highly recommend you check in advance the type of support offered when using the theme and for
modifications. If your purchase option does not include development help, then keep reading! The theme maker support people are the best point of contact regarding any CSS changes.
Two common approaches to apply styling changes to a WordPress website are:
- Add custom CSS to the WordPress Customizer
- Edit styles in a child theme
Let’s look into both options:
WordPress Customizer
The WordPress customizer was introduced a few years back to provide a user-friendly way to visually modify a theme. Each theme developer has the tools to add more options to the customizer, but not all developers do so.
You can find the Customizer under the WordPress Dashboard -> Appearance -> Customizer menu. It will show your website plus a panel to the left with various settings.
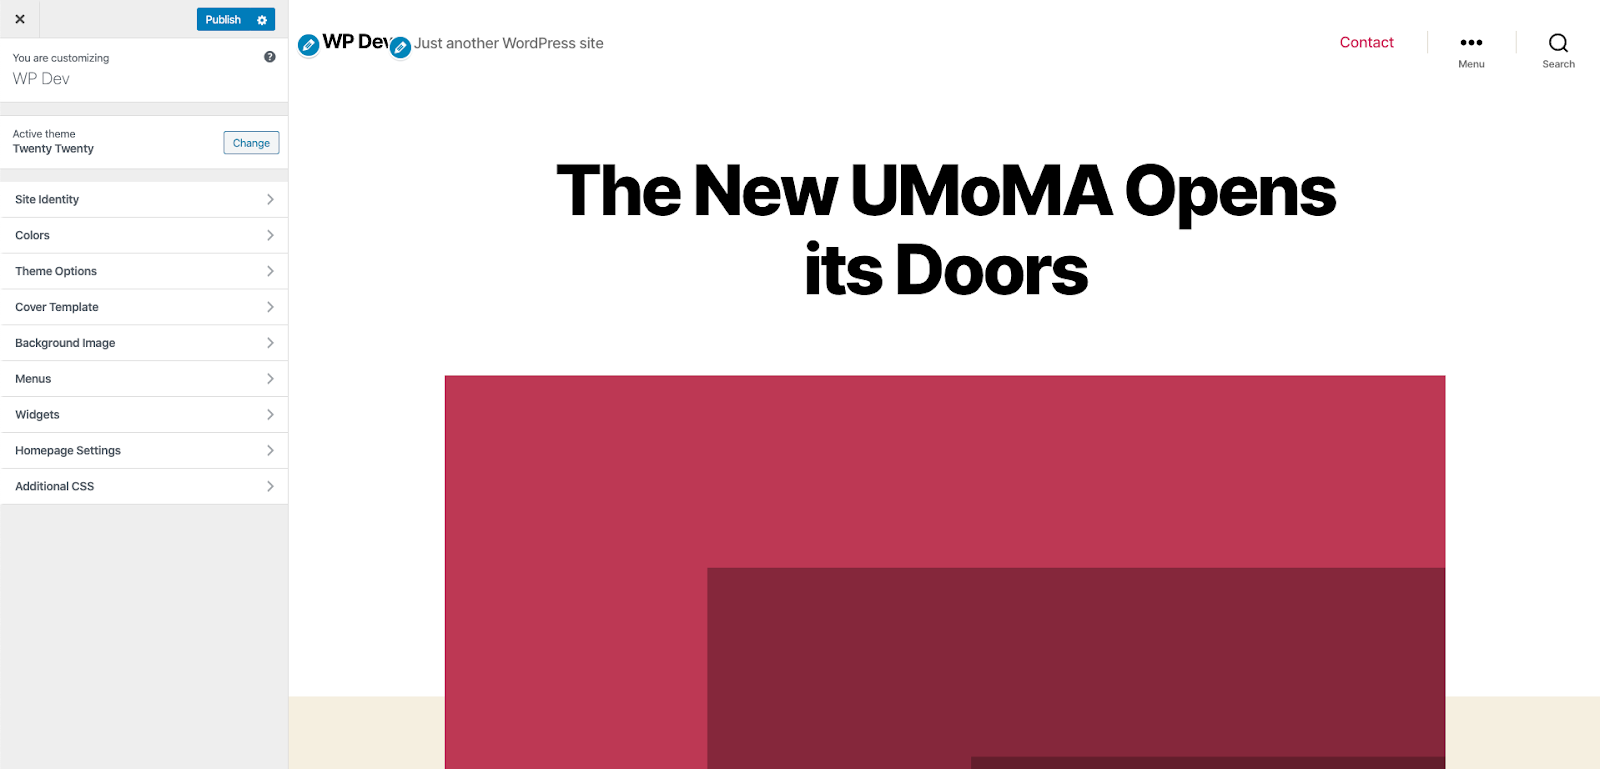
From that left panel, you will find everything you need to tweak your site. In the last tab “Additional CSS” you get a basic code editor to write pure CSS. In the description above the editor, there is a handy link, which explains more about CSS. We suggest you read it in case you have any doubts.
When you add CSS code to the editor, it will update the site preview to the right in real time, which is a great way to debug and tweak your code. The changes will be visible to your visitors only after you update using the blue button in the top left corner marked, “Publish”.
WordPress Child Themes
The child theme approach requires more development and knowledge but it’s the better choice in the long term and provides a lot more options when changing the design of your website. It is also the common approach freelancers and development agencies take when modifying a website which has a pre-installed theme on it.

A child theme is an extension of the main theme. The goal is to grab whatever exists in the main theme and only overwrite what is different. For example, if you have a PHP file in your main theme, which outputs your header, you can duplicate that PHP file into the child theme and modify it. As a result, once you activate the child theme, you will see the modified header file without breaking anything in the site/theme.
The same works with styling: Instead of overwriting everything, you simply add an external file with your custom stylings. It works similarly to the customizer, but instead of injecting CSS code into the final web page, it will load the file you’ve created and edited via the child theme. You can read more about child themes and how to create such in the WordPress codex.
In addition, it’s important to say that the child theme approach requires more knowledge about your server setup. You will have to upload the child theme files you’ve edited to your hosting in order to see the changes applied on the website. This is the reason why people prefer the customizer approach. It’s easy to see, however, the customizer approach is inferior in terms of the freedom a child theme provides.
But why a child theme in the first place? Why not apply changes directly to the theme you’ve installed? For a very simple reason – theme updates. The second you update your theme, all changes you have done to it will be wiped. WordPress themes and plugins are regularly updated for various reasons, including security vulnerabilities. This is the sole reason for a child theme to exist.
How to Write Custom Styles
We’ve covered how to edit CSS, but what to write exactly? Do you know what custom styles you want? – Making design changes is not a trivial task and that is the reason professional WordPress agencies like DevriX exist. Let’s see some of the most common stylings people need to apply to their websites.
CSS is a simple language to understand but also a complex one to master. The following part is for those of you who have some experience and knowledge of CSS. In order to keep things simple, we will only cover these three main CSS concepts: Selectors, Basic properties and Media queries.
Selectors are the way to pick a specific HTML element and apply styles to it. Selectors by themselves do absolutely nothing. They only label things, that’s all. Here is an example of a selector:
.selector-name {}
The dot at the start marks a “Class”. A hashtag (#) is used for IDs. Sounds great, but… How do you know what class you need to target an element? The easiest way is to use your browser’s developer tools. Just right click on the element you want to target and pick “inspect element”. This definitely works on Chrome and is similar in other browsers.
Once you do this, you will see the developer tools and it will highlight the element you’ve clicked. On it, you will see the class or ID. Pro tip – only use classes.
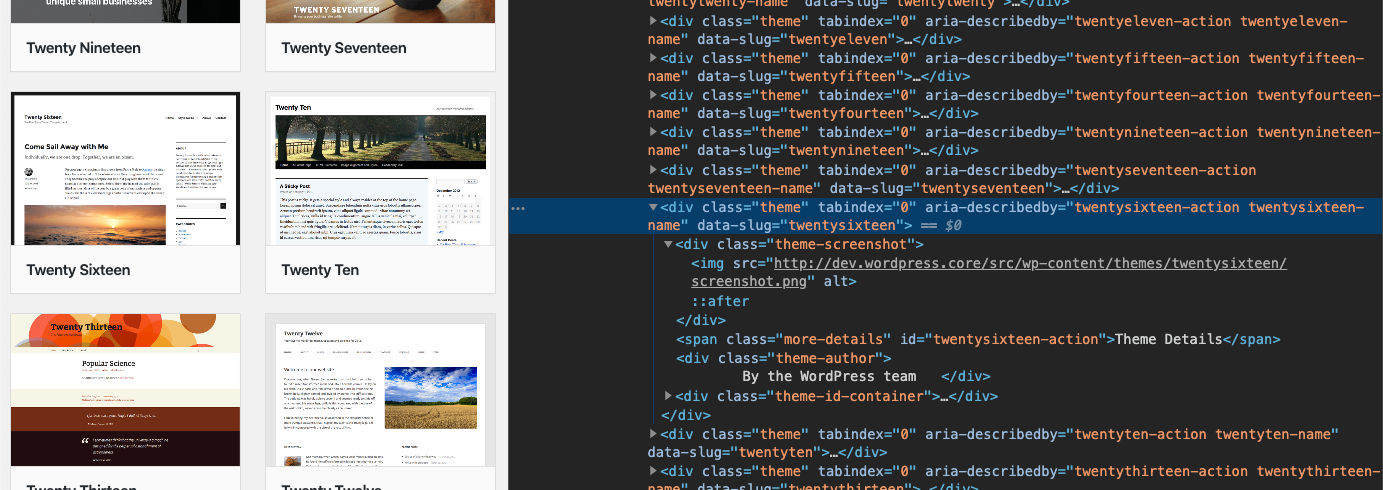
In the example above, the div (div is an HTML element) has a class of “theme”. So in order to style all such elements, you simply have to write the following selector:
.theme {}
The brackets {} are where we write properties. It’s a bit more complex when selecting a specific HTML element with dynamic data, so we will skip that part.
Sometimes though, you may need to be a bit more specific, because it’s likely that the same .theme class is used elsewhere. To do this, it’s best to also target a parent class. In our case (not seen in the screenshot above) this would be .themes. We will end up with the following selector:
.themes .theme {}
The more selectors, the more precise it is and the higher priority it has over other styles. You can read more about selectors or check this short cheatsheet.
Now, we write in the curly braces {} the actual styles. We have targeted the element and it’s time to change its appearance. The basic syntax for CSS properties is the following: <name>:<property>.
Here is an example of some commonly used properties:
- Font-family – define the font for the text inside the HTML element
- Font-size – easy to guess – changes the size in pixels (or other values)
- Display – most often you might use “none” to make an element disappear
- Text-align – to left, right or center align text
- Color – change the color of the text
- Background – change the background of the text.
- Margin – spacing around a box
- Padding – spacing inside a box
- Border – line around the box
Of course, there are many others. If you want to hide an element, you just have to find the selector for it and apply display: none. Here is how it should look:
.element-to-hide {
display: none;
}
You can of course add more selectors, one after another, just make sure to add a semicolon ‘:’ at the end of each line. Many people just copy-paste. In that case you only have to grab the correct selector.
CSS is huge and we can’t cover all styles here. Experienced front-end developers have been doing it full time for years. As a starting point you can check some introductory tutorials that might help you or outsource your project to professionals..
What we’ve examined so far applies to all web pages for all devices. But in some cases, this is not desired. In some cases, you want to style your website for mobile, tablet, or desktop. Or maybe some mix between them. How though? It’s easy! Media queries come to the rescue.
A media query defines rules about when certain styles should be applied. Such rules can be “only under 600px” or “between 400px and 800px” and the like. Here is a real-life example of such media query:
@media (max-width: 640px) { ... }
The styles between the brackets will be applied only under 640px width. You can add any CSS in there with as many selectors as you want. Here is another more complex example:
@media (min-width: 640px) and (max-width: 1024px) {
.selector-1 {
...
}

.selector-2 {
...
}
}
The styles above will be applied to the common tablet range. It’s a great way to hide some content on a tablet! These two options – min-width and max-width cover most media queries cases.
All of the CSS examples above are examples of what you can write in the WordPress Dashboard Customizer or in your child theme.
Ways to Mess up Your Website
We’ve covered the basic cases of style editing and linked a few resources for further reading. The goal was to provide an overview of the options you have to modify your website with custom written styles.
The problem with CSS is that it’s simple to wrap your head around it’s syntax and purpose, it becomes complex when you apply it for large sites. For example, when you select an element like .button, you are selecting ALL elements with that class on all the pages of your website, no exceptions. That’s a lot, right?
This is why we covered the selectors and how to write more complex ones that go a few levels deep. In a badly designed front-end structure, you might find selectors like this:
body #wrapper .header > nav.site-navigation ul li ul li {}
It’s simple for a front-end developer to see the problem with this. Selectors that are badly written, create code mess, which in turn is hard to maintain, so you end up overwriting code to fix it.
That’s why when you hire a professional agency to manage and scale your website or digital platform, a common approach would be to rework the whole CSS/HTML code as it might be more expensive to maintain than to rebuild.
So, whenever you decide to push your button 10px above with a property like margin-top: 10px, make sure that your selector is targeting only the elements you desire.
But things don’t end here. When you target specific elements, you end up with repeated code. Imagine you want to fix ten buttons out of the 500 you have on the site. Well, such selectors will pile up and your CSS code will also start to look messy with chained selectors like this:
.aside .header button,
.main-area .site-button,
.header > .button {}
The snippet above is still a small problem. We have seen chained selectors that look like a huge wall of minified code and this is terrible on all levels.
Bottomline, it’s very difficult to know if the selector you are writing is precise enough. What if on another area of the site it also triggers a change and that breaks your page? Nasty! Again, another reason to hire professional developers. They will create a clean architecture from the ground up and define rules through reusable components. A rather complex issue that takes a lot to master.
Wrapping It Up
It’s very easy to tweak your site through CSS. It’s also very easy to break it. It takes years of experience to know what to do and how to do it. Sometimes, tweaks only make things worse by interrupting the user experience or visually breaking part/s of the site.
Design affects conversion rates and whether your website is profitable or not. Therefore, any change to the code, big or small, can be distratrous and hard to find. So if you are running an online business and your name and profits depend on the quality of your website, it’s smart to use the services of experienced developers.
However if it’s your personal blog or you are the type of person who likes to experiment and you are not afraid to break something every now and then, go ahead! If possible though, consider testing on your local machine before applying changes to your live site. It’s safer that way and you have more time to make the perfect website!
Team DevriX
This article is crafted by DevriX's seasoned marketing team, boasting over four decades of collective expertise in crafting sophisticated marketing funnels, devising comprehensive content frameworks and pillars, implementing engaging email campaigns, and creating impactful social media content designed for scalability.
Our marketing experts specialize in the complete spectrum of inbound marketing strategies. As an accredited HubSpot Agency Partner and a Semrush Partner, we engage in meticulous research, blending our extensive experience with the unique insights of our highly skilled team.
We set benchmarks in content creation by incorporating cutting-edge marketing trends, leveraging in-depth industry research, and utilizing state-of-the-art AI tools for data segmentation and captivating content hooks. Our proficiency extends across a diverse range of sectors, including working with SMEs, Fortune 1000 companies, global B2B brands, major publishing entities, WooCommerce platforms, business directories, and affiliate networks.