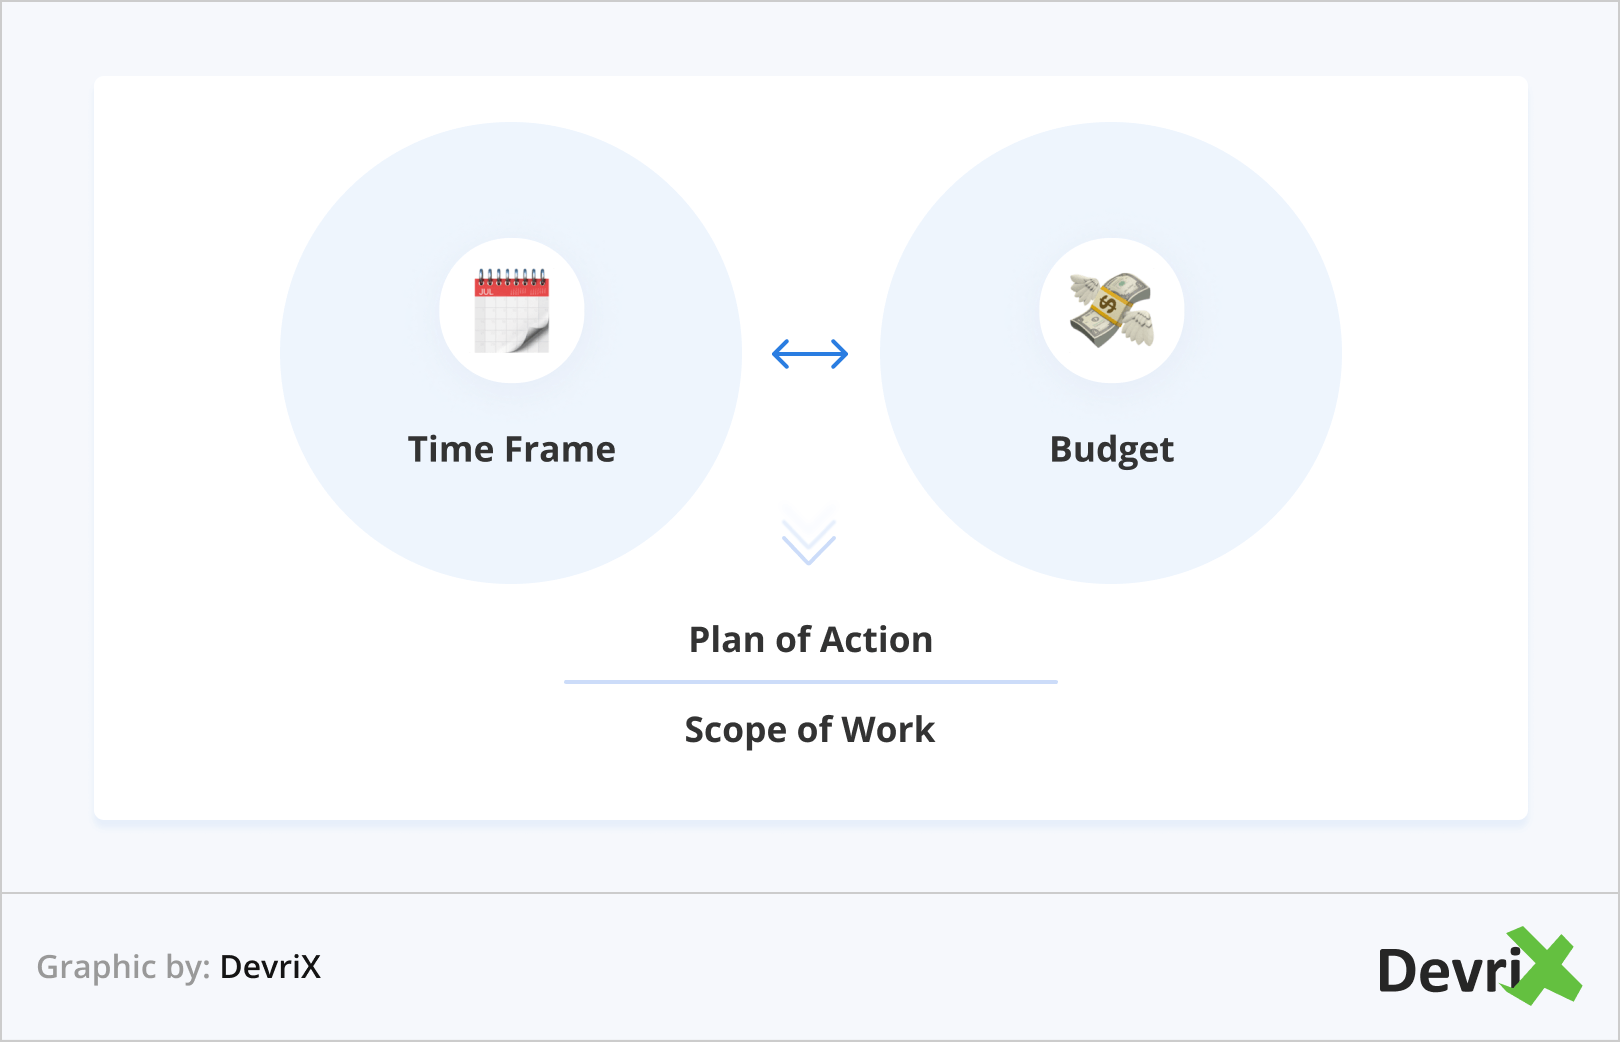
When a developer or, an agency, for that matter, starts a new project, there are a few things that they need to keep in mind. One of them obviously is the budget.
The budget is more or less what defines the scope of work. All initial planning with the client revolves around it.
Then there is the timeframe in which everything needs to fit. Once these three are set, the project manager will create a plan for action.
Let’s break down the main steps that will clearly outline what goes into developing a custom WordPress theme.
Why Is A Custom WordPress Theme Better for Your Business?
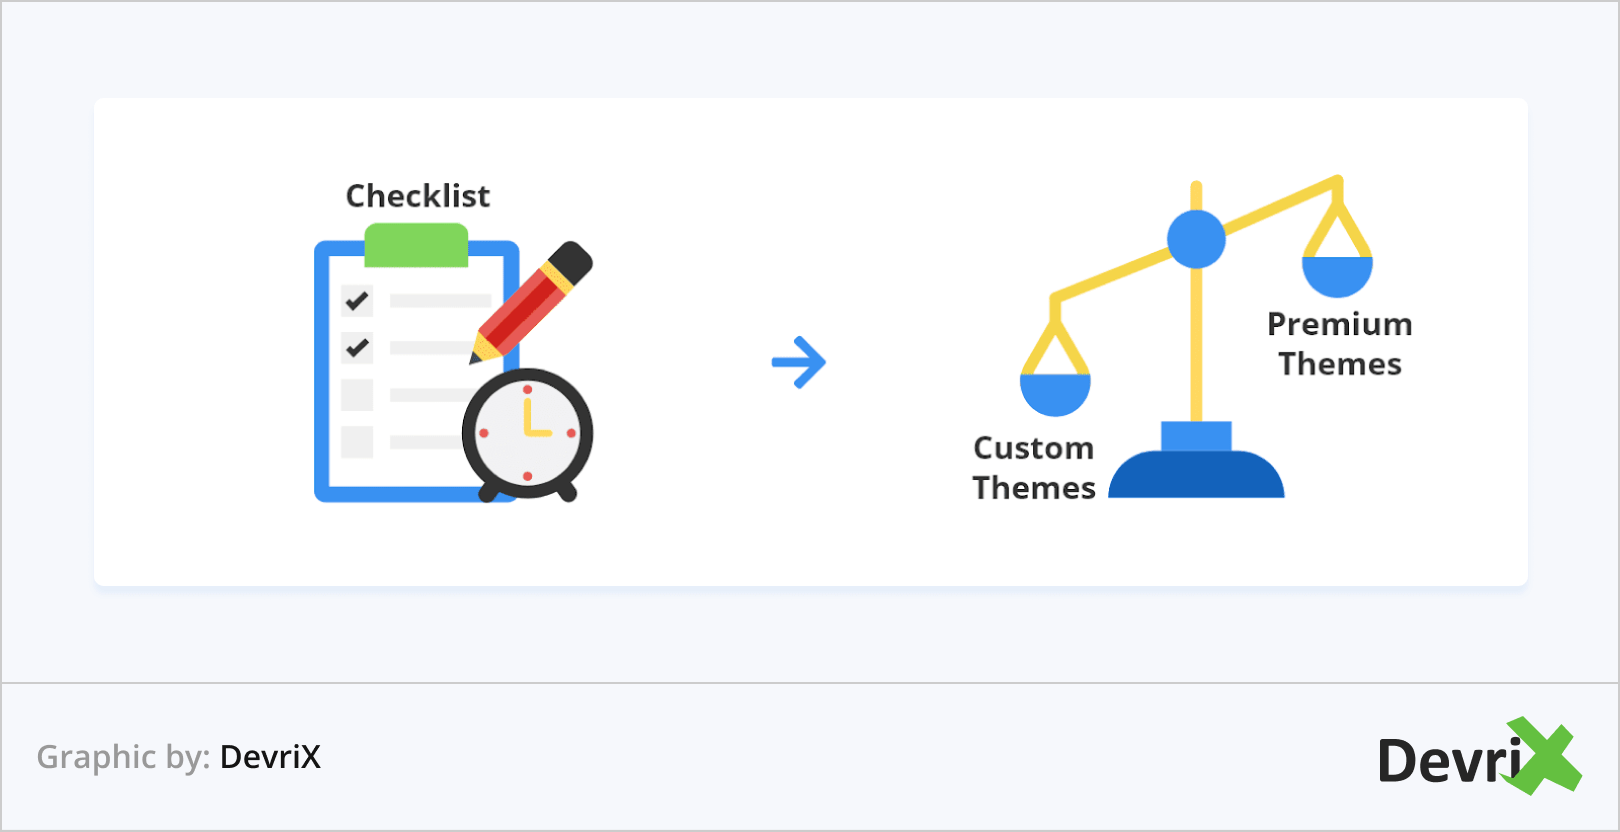
When you have a website, it is important to be careful with modifications. The wrong change could end up ruining your site and leave no way for anyone else in the world (besides yourself) to fix what was done incorrectly. This could mean losing all work spent on designing that specific layout! Premium themes are especially vulnerable to this type of problem because they are often difficult to modify without causing errors.
Even a small change could break the code and render the theme unusable. If you are not careful, you could easily end up ruining your website and losing all of your hard work. So, when it comes to modifying premium themes, it is important to be very careful and be sure that you know what you are doing. Otherwise, you could end up causing irreparable damage to your site.
Before opening an HTML or PHP tag, you need to answer a long list of questions about your website’s goals, content, and target audience. A custom WordPress theme developer will then get down to actual coding after conducting detailed research and understanding your key business needs.
Changing the colors and content of your website theme will not make potential customers remember you if it looks too similar to other websites.
Thus, custom WordPress themes are a great way to set your business apart from the competition. Unlike generic, off-the-shelf designs, these unique themes have been tailored specifically to your brand, giving them a look and feel that is distinct and memorable. This not only helps you to more effectively engage your customers and build better brand recognition, but it also drives higher sales through increased customer loyalty.
Whether you are creating a beautiful online store or a sleek website for your business, with the help of a custom theme, you can ensure that you stand out from the crowd and reap all the benefits that come with it. So why wait? Start building your custom WordPress or WooCommerce theme today!
4 Steps To Building A Custom WP Theme
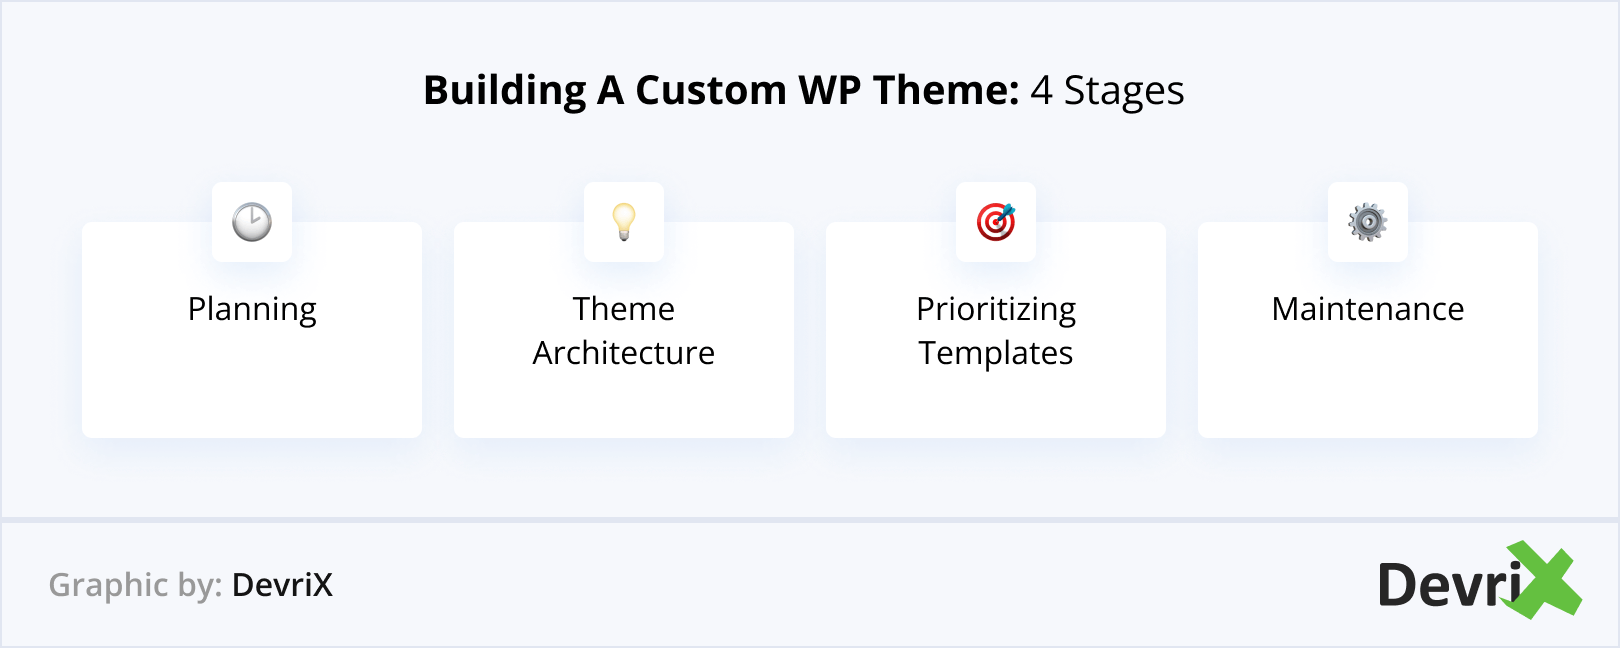
Step 1: Planning
- Is there a design requirement by the client?
- What portion of the functionality can be implemented through existing plugins?
- How many people need to work on the project?
- What are the potential pitfalls during the development?
- Do you have all the requirements? Will there be changes during development time?
These are just a small portion of the questions that need answering per project. You need them in order to explain why sometimes custom themes are the best or worst decision a person can make. Depending on the time frame, the scope, the requirements, and potential issues, parts of the design can be dropped off from the start.
Note: Keep in mind that we are not diving deeper into asking if there’s a project specification, what the business is, goals, targets and so on. For a similar type of questions, you can check out this article.
Imagine the following case: A client comes in with a custom design. This custom design was created by people who may have no experience in coding. And in one of the templates, they have created an element that is too time-consuming to recreate on the front-end.
This specific element will take more than two or three days of development time. If the deadline is very short, this will be a blocker to all other work and it’s possible to go over the time limit.
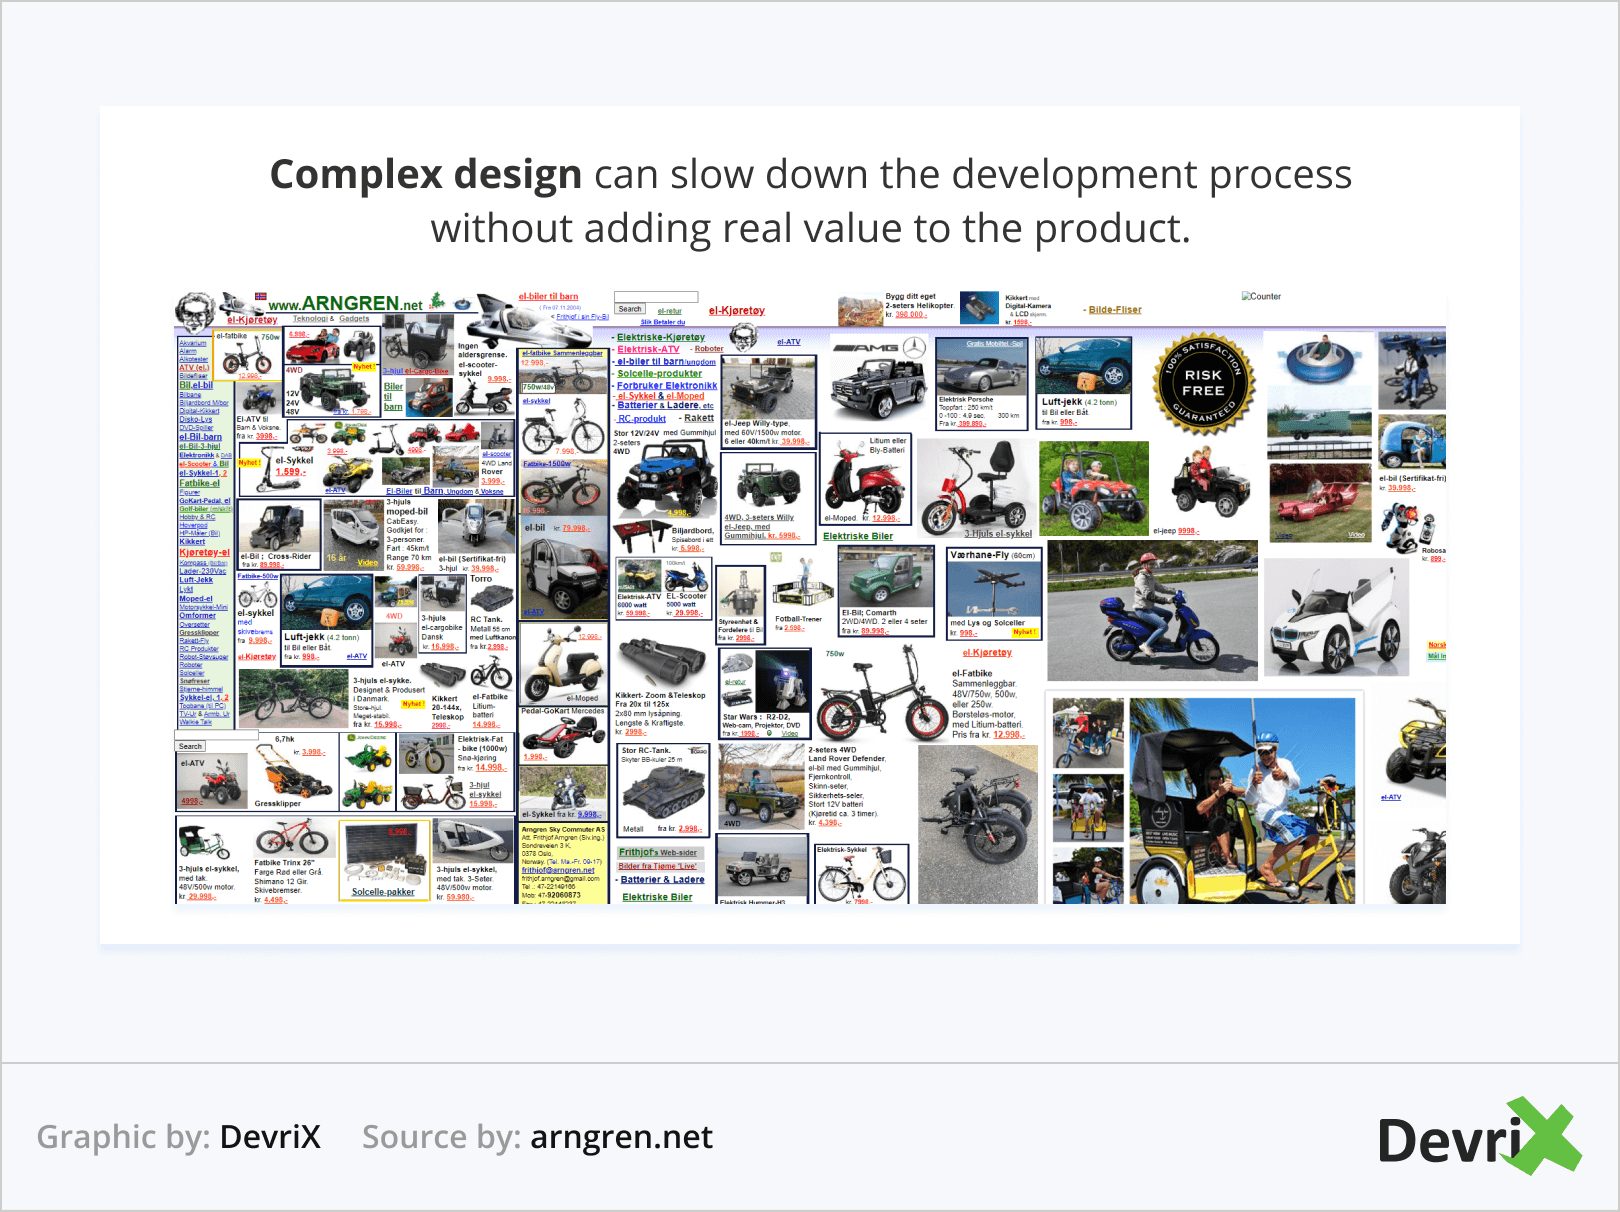
You can ask the designer to recreate this very element by thinking more carefully about the code behind it. Simpler positioning, staying inside the borders, reducing obscure shapes, and general simplicity will greatly decrease the time a developer needs to create this component.
So that leaves you with two options:
- Drop the component completely if it adds no real value to the CRO.
- Rework it in order to make it easier and faster to implement.
And then there is back-end implementation, though we won’t enter too much into this. The concept is similar.
Therefore during the initial planning phase, the front-end developer needs to go through all design comps and think about the implementation of every single item. If there are issues, the developer needs to outline them and contact the client for more information.
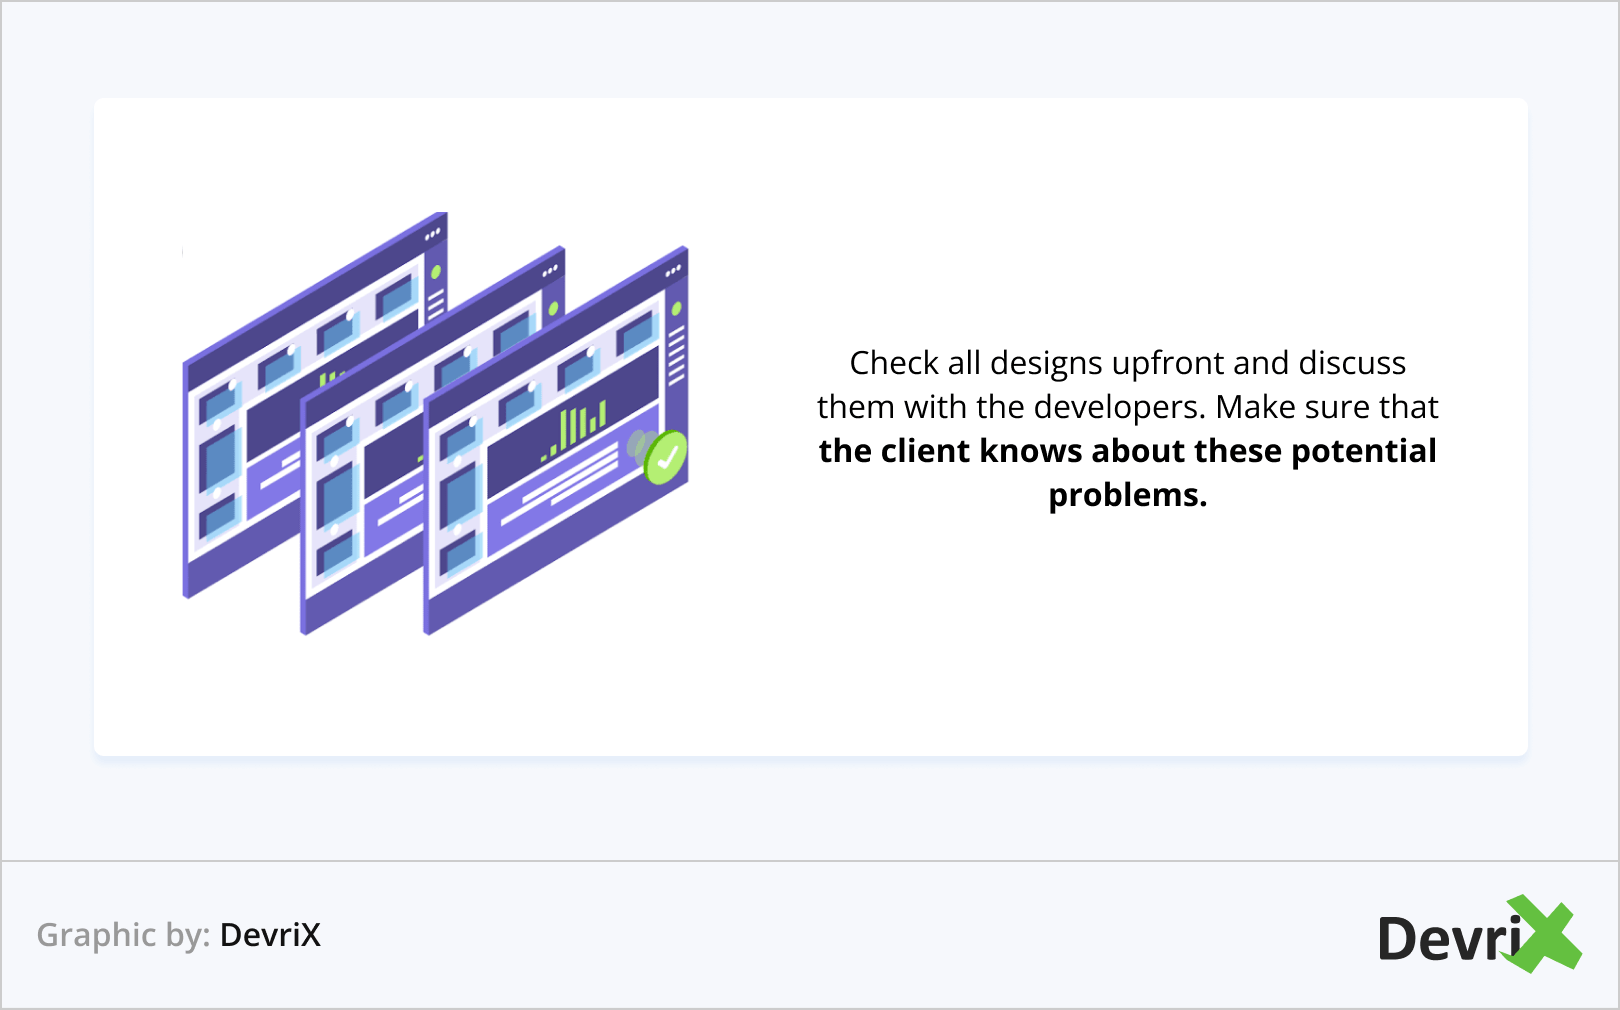
This type of upfront communication will greatly decrease the problems that may occur during development. Here are a few of the main reasons for that:
- When making changes in the middle of development, things are done quickly and messy. The deadline is near, there is simply much less time to do it right.
- Everyone is more stressed. Mistakes happen easily and last-moment patches are frequent.
This research of the design can spot the most complex elements early on. The project manager then can delegate more or fewer people to the project and sync them to work both on the back-end and front-end at the same time.
Related: The Complete Action Plan for Building and Growing a Professional WordPress Website
Step 2: Theme Architecture
Once the overall planning is done, there is, even more, planning to do once development begins. Of course, that depends on the scope of work and the size of the site.
Once again we can break it down into two main types of projects:
- Single one-page sites, basic blog layouts, or just a few landing pages with standard sections
- Large-scale projects with dozens or more landing pages, a shop, many custom post types, and so on.
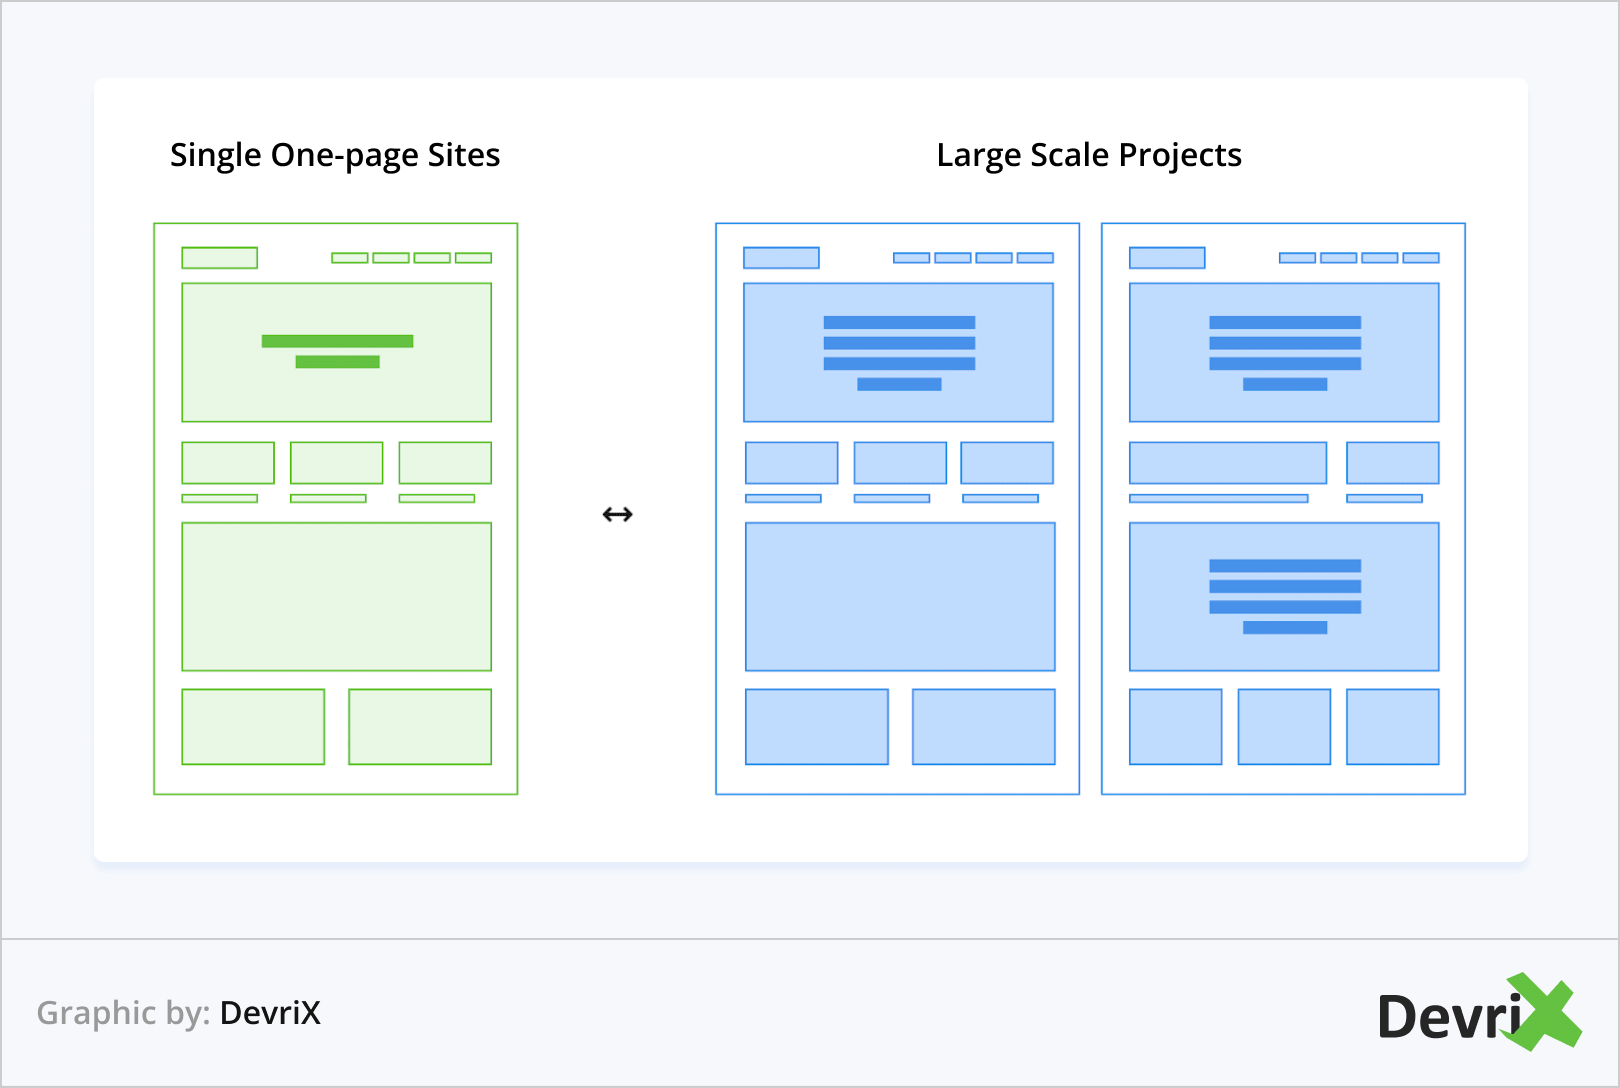
If it’s a simple one-page template or a blog site with one or two-page templates things are fairly easy. The templates can be coded quickly and the blog pages are rarely an obstacle. This can be said to be one of the best-case scenarios for a project with little to no potential hiccups.
The moment when more custom landing pages are introduced, more archive views, custom post types or complex news sections come, things change drastically.
For a more complex project, all components need to be inspected and categorized. Buttons, modals, notices, blocks of content, typography, colors. Everything needs to be unified. This means that the front-end developer needs to follow the style guide set by the designer carefully. Unfortunately, at times, there’s no style guide, to begin with.
Thanks to Sass (CSS on steroids) this becomes much easier. We are ignoring the CSS components that are becoming more and more popular in web apps as they have a slightly different use case.
Each component can be separated and styled. Because of this, reusing it becomes much easier. And this is one of the most critical parts of a large website. Maintaining all of the components without causing a regression.
The most common problem in junior front-end developers is over-complicating things. Writing too many styles. Repeating code and modifying it too much may cause regressions to appear all over the place. Defining good architecture from the start is paramount to success. And this is why a good style guide is important for large sites.
A good style guide will keep track of all the elements. Let’s take an example:

A news site with many different archive pages. Each one of those archive pages looks different from the rest, but what they have in common is the component structure.
They always use the same five types of components but in different places. Yes, some might be a different shade of the primary color or with less white space in various places. They can even show more or fewer news items in them. But they have the same elements inside.
The difference is only visual. Bold text, font-size, image size, paddings or margins, in addition to colors, can vary. This is done through modifier classes. Think of it as a theme. You set one class, everything changes visually, but the markup remains. This is good. It is predictable and easy to control.
You don’t have to create a new component every time there is a change in the design specs. That way you maintain just one component and it’s reused across the site. If you did create a new component, then you would end up with tons of very similar but still different components that would be a hell to maintain. This difference in your approach can save hundreds of hours when the project grows.
To summarize:
- Strong architecture is the backbone of a website. When done well, the site can scale for years.
- Separate everything in smaller bits (components) and reuse them across the site.
- Write as little code as possible in order to keep things simple.
- Do not overwrite too much. Every time you write !important, you make a bunny sad. Don’t do that. It’s an awful thing to do.

Step 3: Developing by Priority
Now that the planning stage is done and a good architecture has been created, it’s time to start building the most important pages. That would be, more often than not, the homepage and the blog view. Although, depending on the project, there could be a few more landing pages that are a priority.
What is the point of prioritizing templates? Well, GDD (Growth Driven Design) will explain it.
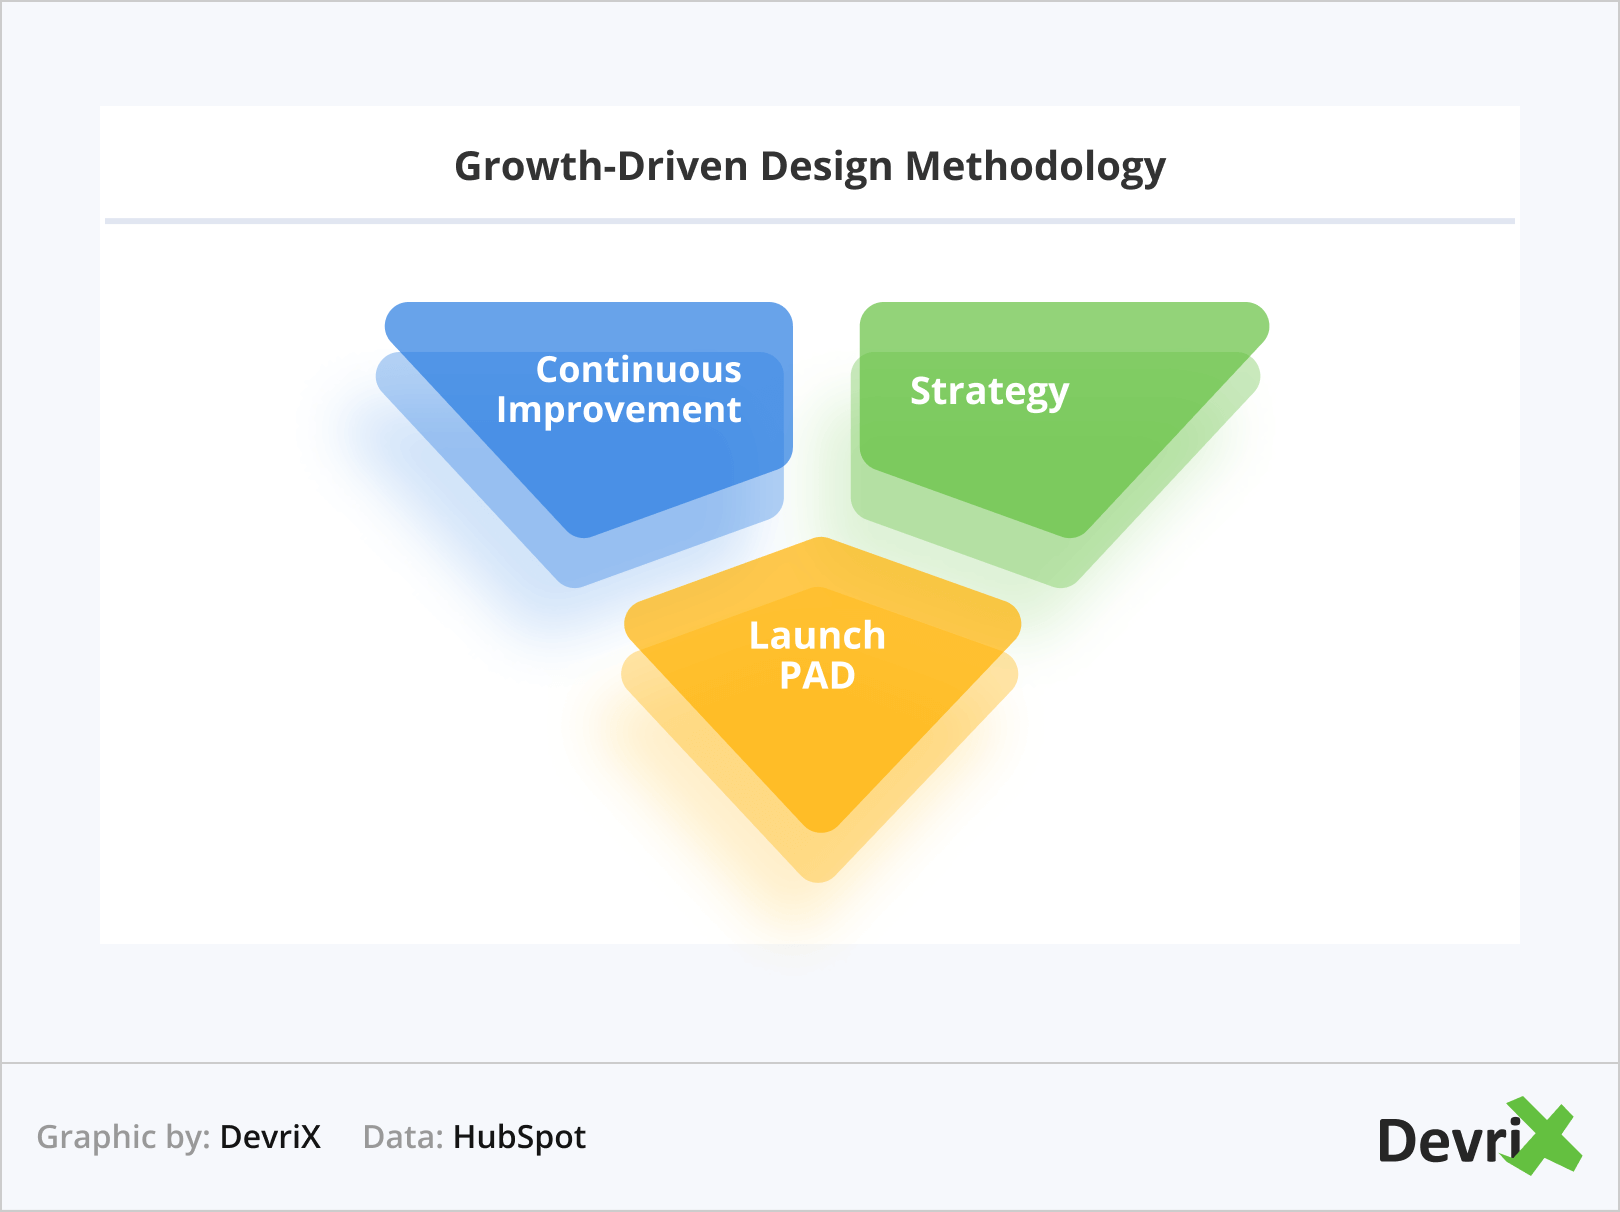
It’s a methodology where if the deadline is too tight and a product needs to launch ASAP, work can be separated to post and pre-launch dates.
It means that the developers will craft the most important pages with the new design and launch before the whole site is finished.
Now, not all projects have such a tight deadline, so this might not always be the case, but it’s a practice that has proven to work many times. The core of it is the retainer based model of client-agency relations.
When the client comes with requirements, a large portion of them may not be met by the desired deadline. This means that what’s most important will be developed and launched on time and all other pages/functionality will come afterward.
During a period of a few months, new features will be added to the final product and pushed live. These are features that have no chance of being implemented before the initial deadline.
Depending on their priority, they can be separated in weekly sprints and pushed live once everything has been tested. This allows for much more flexibility on both sides as well as greater safety.
Step 4: Maintenance
Website maintenance is the most problematic part for junior developers. Once the theme is built and working, it comes time to start making changes to it. This is how it works for almost all projects. The client almost always comes back to ask for slight modifications to various parts of the site.

These modifications can be an alternation of components, adding new ones or even building brand new landing pages. Thanks to the retainer plan and GDD that’s part of the plan too, everything should go smoothly in an agency that follows these methodologies.
After the foundations are laid down (CSS Architecture), each change will affect only the element it is meant to modify. All new additions will be separated from existing components, so regressions are very unlikely to happen.
Even if a change of general stylings in the theme happens like new headline fonts, new button stylings or change in the primary color, they won’t be a problem because all settings for the theme are written down in variables in the Sass files. The days of 10,000 line \*.css files are gone.
Also, part of the front-end developer job is to keep all selectors short and simple. This will create much fewer problems when overwriting of styles is needed (though if this can be avoided it would be best).
Final Words
So to get everything in one sentence — Careful planning, good practices, strong foundation and the right partnership will produce a solid product that can constantly scale.
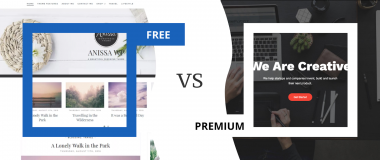
Building a WordPress theme can be much more difficult than it seems at first. There is a big difference between a free WordPress theme for the WordPress repository and a custom solution for a high-scale client.
The amount of planning is very different. Add a tight deadline to that and the proper plan is a must.
What we’ve grown to know is that a retainer-based partnership with our clients has always proven to be the right choice. We can launch in days, and then continue working on the project for months or even years after by constantly improving and growing it.
Team DevriX
This article is crafted by DevriX's seasoned marketing team, boasting over four decades of collective expertise in crafting sophisticated marketing funnels, devising comprehensive content frameworks and pillars, implementing engaging email campaigns, and creating impactful social media content designed for scalability.
Our marketing experts specialize in the complete spectrum of inbound marketing strategies. As an accredited HubSpot Agency Partner and a Semrush Partner, we engage in meticulous research, blending our extensive experience with the unique insights of our highly skilled team.
We set benchmarks in content creation by incorporating cutting-edge marketing trends, leveraging in-depth industry research, and utilizing state-of-the-art AI tools for data segmentation and captivating content hooks. Our proficiency extends across a diverse range of sectors, including working with SMEs, Fortune 1000 companies, global B2B brands, major publishing entities, WooCommerce platforms, business directories, and affiliate networks.