The eCommerce industry continues its growth. In 2019, globally, people have spent nearly $3.46 trillion, and with more and more companies expected to jump on the eCommerce bandwagon, many of them will also either stay with their current platform of choice or decide to opt for a new one.

Undoubtedly, WooCommerce and Shopify are two of the finest solutions for creating and scaling an online store. They both own a significant portion of the eCommerce platform marketplace, and both can provide you with excellent features.
For several years, Shopify was the go-to choice when it came to online stores. It is still very popular among eCommerce business owners, in spite of whether they own an established brand or just getting started in the industry.
However, the basic package of $29 per month makes Shopify an obsolete choice when it comes to online stores that are working with a limited budget. Even worse, they are charging substantially higher percent for international compensations.
The question is whether there’s a budget-friendly and more flexible solution for eCommerce website owners.
WooCommerce seems like the perfect fit. WooCommerce also comes with native support for both PayPal and Stripe. It is free to integrate with your website, and because of WordPress, it is much more extensible than Shopify, allowing you to build more sophisticated and larger online stores.
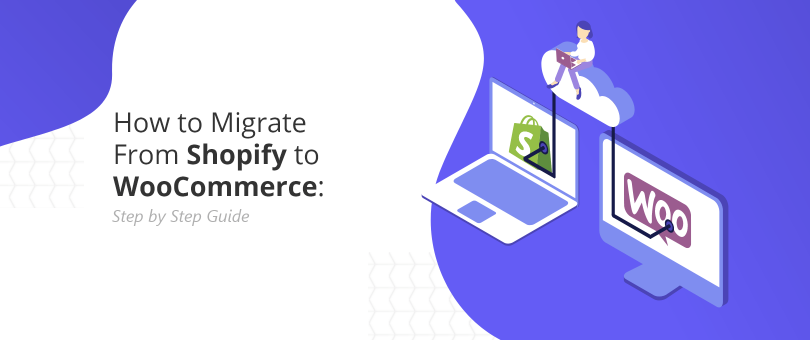
There are several steps to migrate safely from Shopify to WooCommerce. In this guide, we will go over each of them to help you migrate from Shopify to WooCommerce successfully.
Why Should You Migrate to WooCommerce?
Shopify is great if you’re just getting started with eCommerce, and you can set it up fast even if you’re not that digital-savvy. It provides you with the basics for a certain monthly fee, but with certain limitations as well.
However, at some point, you will need to scale the experience and transfer to a much more superior platform. In any case, there’s hardly a platform that is more scalable and customizable than WordPress. Through the help of the most powerful CMS’s building blocks, along with the WooCommerce plugin, you can practically build any type of online store.
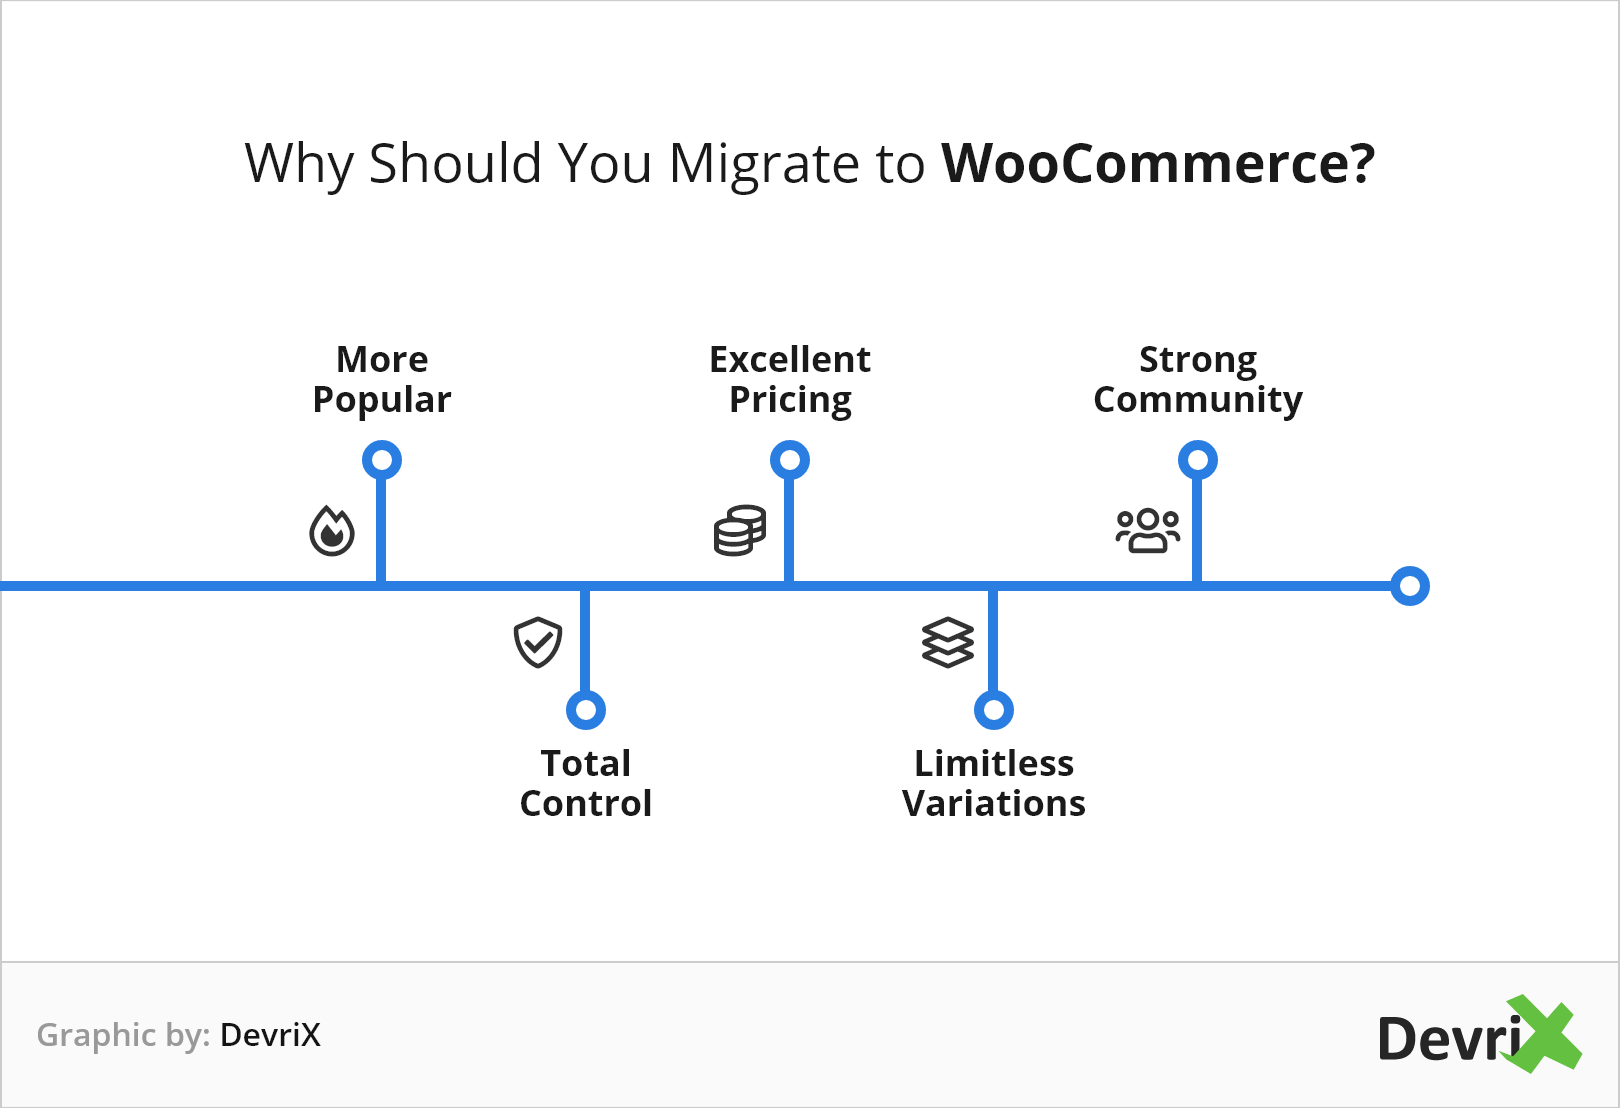
The following are the additional reasons why you should migrate your online store from Shopify to WooCommerce:
- More Popular: As reported by BuiltWith, WooCommerce is the top-rated eCommerce platform with a 26% market share compared to Shopify’s 18%. In fact, according to Yoast’s CMS market share analysis, WooCommerce’s is three times bigger than Shopify’s.
- Total Control: WooCommerce provides you with complete control over your eCommerce site. It allows you to modify every SEO aspect, integrate various payment gateways, and it offers excellent backup options.
- Excellent Pricing: When you use Shopify, you will be charged for the monthly fee, add-ons, and each transaction fee. On the other hand, both WooCommerce and WordPress are free, and you will only have to pay for your hosting package, domain name, and the premium extensions that you want to use. In fact, WooCommerce will motivate you to invest the money in aspects that will grow your business, instead of charging you a seamless monthly fee.
- Limitless Variations: If you sell products such as shoes or timepieces, you might need lots of product variations. WooCommerce provides you with as many product variations as necessary. Shopify limits the product variations to 100.
- Strong Community: In the same vein as the WordPress community, the WooCommerce collective is a pretty tight one, and everyone involved either contributes or wants to learn more from fellow site owners. WooCommerce meetups are being held regularly in over 400 cities in the world, an excellent opportunity to get involved.
Migrating Your Shopify Store to WooCommerce
Migrating from Shopify to WooCommerce is far more complicated than beginning with WooCommerce from scratch, so it’s always better to plan things well in advance for the switch to be easier. To prepare for the migration, take into account the hosting infrastructure first.
One of the reasons why users opt for Shopify is because the platform comes with free hosting for the store. Since WooCommerce doesn’t come with a hosting package of its own, it means that you will have to purchase a hosting package by yourself when migrating from Shopify to WooCommerce.
That will provide you with greater control over your eCommerce site and more customization opportunities.
In most cases, a Managed WordPress Hosting is the best because the server is configured to function with the latest WordPress version for perfect stability, security, and performance.
Our Managed Hosting partners Pagely can help you scale your eCommerce business through powerful and fast hosting.

Through Pagely’s managed VPS eCommerce hosting, you can forget about WordPress hosting-related problems and focus on safely growing your online store.
Set up WordPress and WooCommerce
To use WooCommerce for your online store, you need to install WordPress first. Installing the best CMS is effortless, and you can perform the entire process in minutes.
After setting WordPress up, you’ll need a theme to manage the visual and technical aspects of your eCommerce site. You can choose between free and premium themes, but typically, a premium theme will provide you with more options for your online store.
If you want to use a default WordPress theme, you can select one from the Appearance → Themes tab on WordPress.
Or, if you want to use your custom theme, you need to choose “Add new” and then upload the theme’s .zip file. When the custom theme is ready, just click “Activate”, and the theme will be functional on your site.
After you’re done with the WordPress theme, you can now install WooCommerce. Navigate to the “Plugins” tab in your WordPress admin and choose “Add New”. Type in “WooCommerce”, and when the plugin created by Automattic appears in the search results, click on “Install Now”. After that, you can activate it and start working on your WooCommerce store.
When you activate the plugin, you need to complete the WooCommerce Setup Wizard.
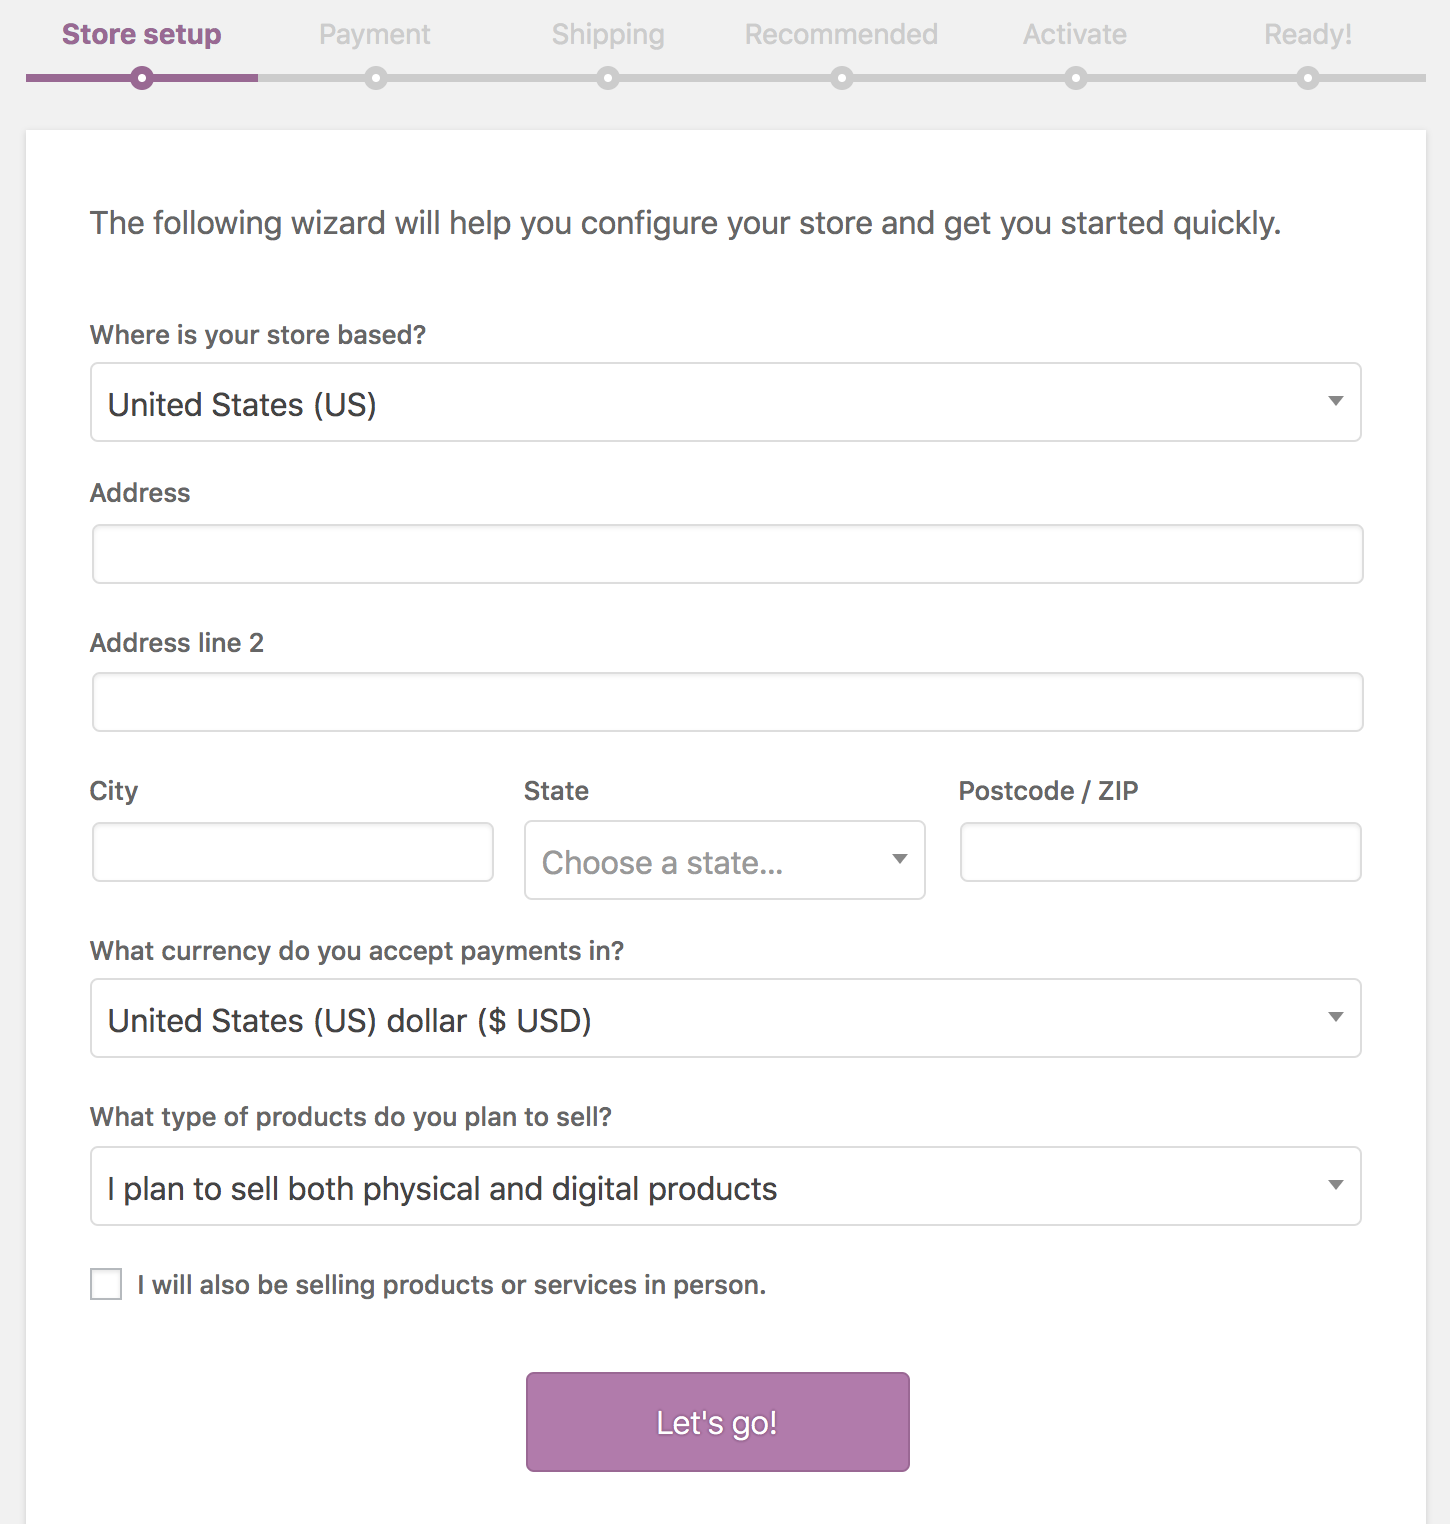
The wizard will help you set up tax charges information, shipping options, preferred payment methods, and much more.
Concluding the setup will append the WooCommerce label to your WordPress admin along with the “Products” list. In the WooCommerce settings, you can fine-tune shipping, checkout, payment, and other important information as well as regularly monitor everything about your store.
You can make the most of WooCommerce’s customizability by installing and activating other complementary plugins to your WordPress website.
If you’ve bought a plugin outside the WordPress marketplace, you can upload the plugin file by clicking on “Upload Plugin” and choose the file from your computer.
Exporting Data From Shopify
If you have a small Shopify store, you can easily just add all of your products again on your WooCommerce site. However, If you’ve been working on your Shopify store for quite some time adding numerous products, though, it’s better to import all the products through a CSV file.
To start exporting the products from your Shopify store with a CSV file, do the following:
- Open your Shopify admin, and navigate to Products
- Select Export
- Choose which products you want to export
- Decide on the CSV file format
- Select Export products
- You’ll get an email with the linked CSV file. Click the link and download the file.
Remember to carefully check the CSV file to avoid potential problems in your WooCommerce store.
Importing the CSV Product File to WooCommerce
To import the CSV file, open your WordPress dashboard, navigate to WooCommerce → Products. Select Import.
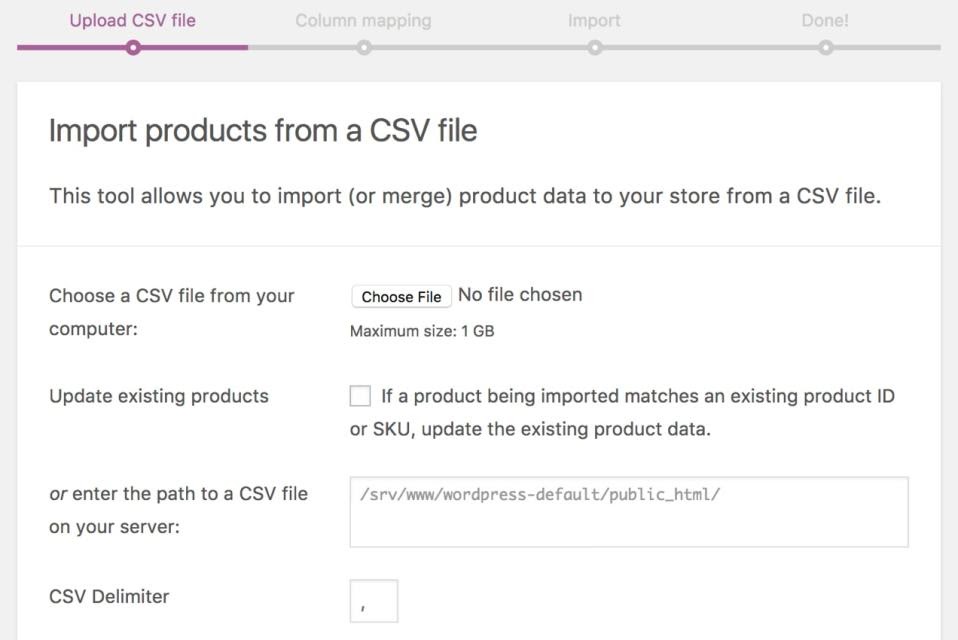
Select Choose File and choose the CSV file that you want to import. Afterward, click on Continue.
On the Column Mapping screen, WooCommerce will automatically try to match the column name of the CSV file to the relevant product fields.
Afterward, run the Importer. It may take a few moments for the importer to run the file, and when the import is done, you will get an “import complete” message.
Moving Your Domain From Shopify to Your New Hosting
For your Shopify store, domain and hosting usually come as included. So, if you want to keep the same domain, you’ll need to transfer it to your new host.
In most cases, Shopify users OpenSRS as a domain provider, so you should access the domain manager and make the required adjustments before you transfer the domain.
To prepare your Shopify domain for transfer:
- Open your OpenSRS account.
- Navigate to “Domain Locking” and click on “Disable”.
- Locate the domain authorization code by opening the “Domain Extras” tab, and copy it.
To transfer the domain to your new hosting, follow your provider’s guidelines for moving the domain, and get in touch with their support if you need help.
Cancelling Shopify
When everything is ready with your brand new WooCommerce site, it’s time to cancel your Shopify store. After all, it’s highly unlikely that you’ll use Shopify once you migrate the store to WooCommerce, so why would you continue to use and pay for their features. You will need to uninstall all the apps, revoke memberships, and cancel every other function that involves paying a fee.
Don’t forget to cancel the Shopify domain as well. Since you want to migrate to WooCommerce and don’t need the Shopify domain, you should remove it to evade any problems when making the switch.
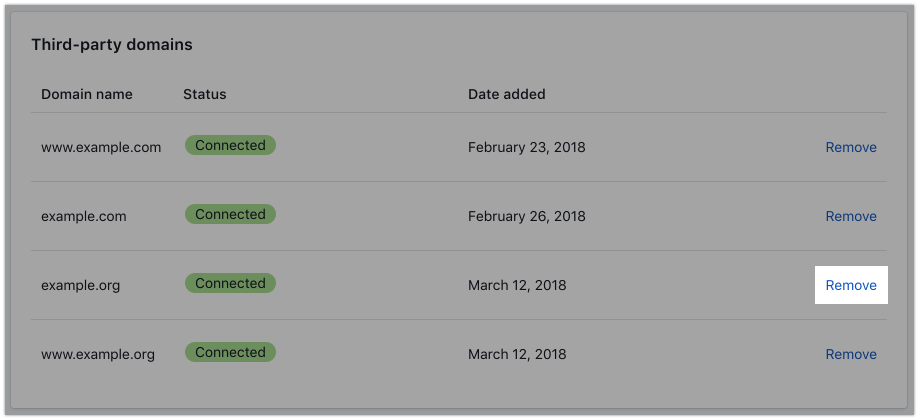
Image Source: Shopify Help
Open your Shopify admin, select Online Store, then choose Domains. Next to the domain, you will notice a button labeled “Delete Domain”. Click on the button, and follow the additional instructions for canceling the domain.
To finally close your Shopify store, open your admin panel, and locate the Settings. Then, click on Account and continue to Store Status to locate the closing option.
Choose Close Your Store and confirm the action.
Using a Plugin to Migrate From Shopify to WooCommerce
Migrating your Shopify store to WooCommerce manually can be a demanding process if you’ve never migrated a site before. For that reason, a great deal of Shopify store owners utilize plugins such as Cart2Cart to deal with the migration process.

To use Cart2Cart for the migration process:
- Register to Cart2Cart.
- Choose Shopify as the Source Cart.
- Enter your Shopify URL and the API Key.
- Set Woocommerce as the Target Cart.
- Enter your Woocommerce URL.
- Install the necessary Connection Bridge.
- Choose the data that you want to import
- Launch the migration by clicking Start Full Migration.
The Cart2Cart pricing packages will depend on the number of products and the size of the data that you want to migrate.
Wrapping Up
We hope that we’ve proven the advantages of opting for WooCommerce and WordPress as your eCommerce platform and inspired you on how to migrate from Shopify to WooCommerce, step by step.
Migrating your Shopify store to WooCommerce is a hard call, and you should not take it for granted. By following the steps above, the migration will be much easier for you, and you will be able to scale your eCommerce business without any problems.
If you don’t have previous experience with migrating a website, anything that involves technical aspects of your online store can get complicated. That is why we recommend working with an expert that will provide professional assistance during the process.
