Moving objects from one place to another is easy. Pick it up and place it where you think it’s the best. However, this does not apply to the digital marketing world, especially when it comes to migrating a WordPress website: you need to export databases, import them to a new host, transfer files to the new host, and optimize everything that is necessary to have a working website.
With website migration, there are always challenges that come along the way and can be a major cause of concern unless you know how to overcome them. For that reason, in this article, we’ll detail the crucial steps that you need to take to ensure a faultless WordPress website migration.
Why Would You Migrate Your WordPress Website?
There are several reasons why you should migrate your WordPress website, and you should opt to do so only if at least one of the grounds below is fully justified.

Heavily Penalized by Google
According to HubSpot, a Google Penalty is:
“A Google penalty is a punishment against a website whose content conflicts with the marketing practices enforced by Google. This penalty can come as a result of an update to Google’s ranking algorithm, or a manual review that suggests a web page used “black hat” SEO tactics.”
If for some reason your website has been heavily penalized by Google to an unrecoverable point, getting back on track can be difficult. As a matter of fact, every penalty, small or big, is bad for your business.
Whether you like it or not, Google will punish you if your website tactics go against their primary goal of delivering the most relevant content to users, and this can cause irreparable damage to your SEO and online reputation.
Rebranding Purposes
The business world and your industry evolve constantly, and the technologies that are available improve daily. Therefore, at some point, it’s certain that you should do an overhaul of your entire web presence along with a rebranding process. Every content that you’ve worked on must be saved, upgraded, and moved to another server now.
Better Domain Name
Imagine if you sell smartphones and all of a sudden “smartphones.com” becomes available at an affordable price. You’d want to transfer your entire content and product pages there, right? A good domain name can save you years of SEO and content development. However, a good domain name means nothing if your products, content, and web components are not on point.
Common WordPress Website Migration Mistakes
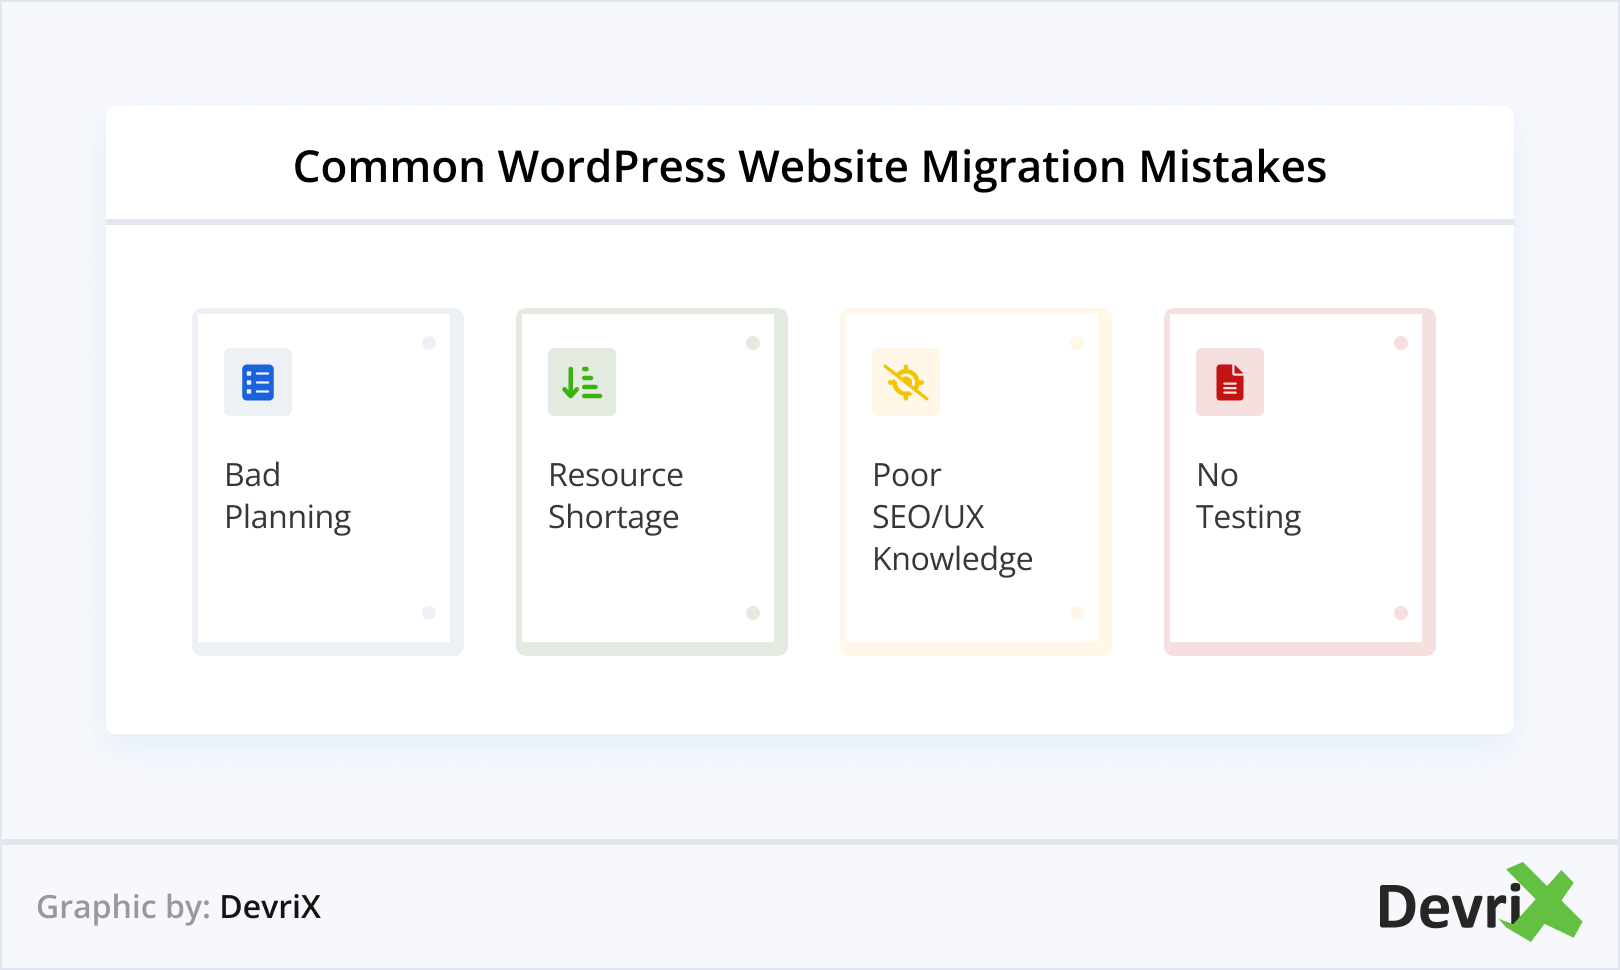
Even though the migration of every WordPress site can be different, these are some of the most common errors that can reappear during migration disasters:
1. Bad Planning
A migration process that is built on top of unrealistic goals and bad planning is doomed for failure. If you want to measure the effect of your migration process, you must establish real objectives, such as retaining your traffic and SEO score after the migration happens.
2. Resource Shortage
Before the migration takes place, you need to estimate the time and resources that developers will invest in the process. Problems can happen and if additional work is required, you need to have at least 20% more of the initial resources for the migration process to be complete.
3. Poor SEO/UX Knowledge
When you migrate your site, you need to evaluate everything from an SEO and UX standpoint. To avoid WordPress migration mistakes, you need to hire an experienced SEO and UX consultant that can explain each outcome after the migration takes place.
4. No Testing
Planning is not the only thing that you need to conduct before you migrate your WordPress website. You also need to test things thoroughly before you launch your site. It’s much better to delay the migration if you’ve found some errors through testing than rushing it into production.
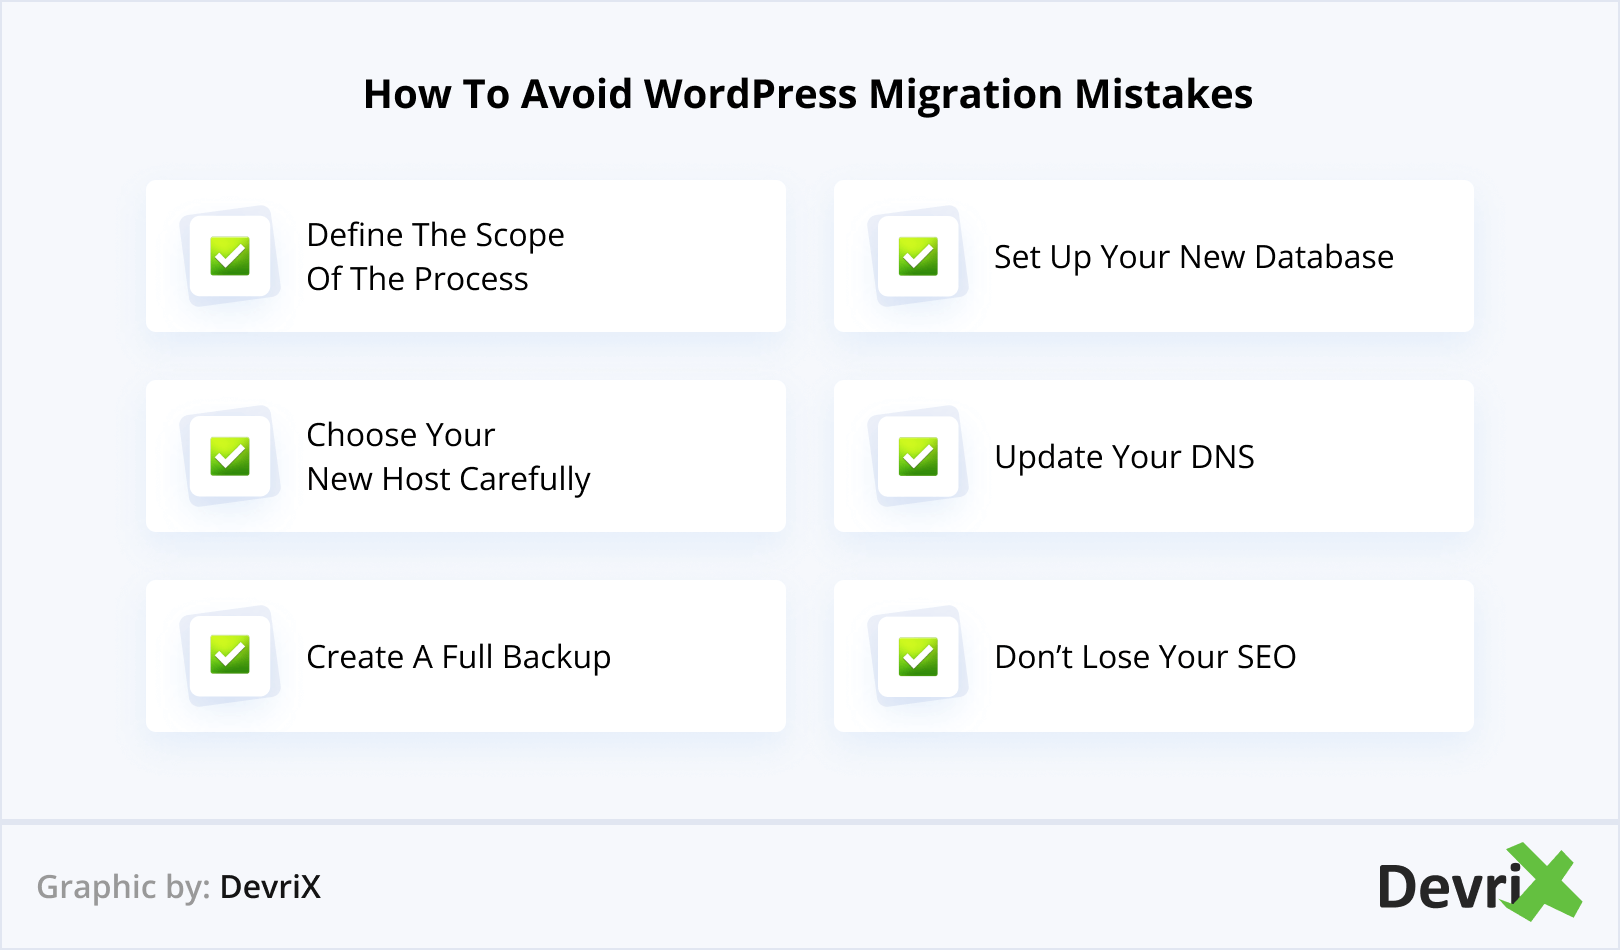
How to Avoid WordPress Migration Mistakes
- Define the scope of the process
- Choose your new host carefully
- Create a full backup
- Set up your new database
- Update your DNS
- Don’t lose your SEO
1. Define the Scope of the Process
Despite the reasons for migrating your WordPress website, the goals and the process scope need to be clearly defined. You need to determine the crucial aspects that will make the migration successful. Each possible scenario needs to be predicted and prepared with help from experts.
Your consultant needs to fill you in on each aspect before the migration begins, including your content, SEO, UX, and your current web traffic in order for new website growth opportunities to be defined after you move your site.
The migration plan should be shared with everyone that is involved, including your web developers, SEO and UX consultant, and content creators. Each task needs to be described in detail and without hesitation.
2. Choose Your New Host Carefully
If you optimized your WordPress website for maximum performance, but still, everything looks and feels sluggish, it’s time to pick a good hosting provider that can help you scale for high-traffic.
When you look for a better WordPress hosting, it’s crucial that you pick the company and the package carefully, so you won’t have any problems during the migration process as well as during high-traffic spikes.
Here’s what we advise:
- Choose quality. Cheaper is not better, especially when it comes to a WordPress host. Having a quality and premium hosting plan can make the difference during the migration process, plus, you’ll get all the perks such as 24/7 support, your private server, all sorts of plugins, a web app firewall, and much more.
- High-speed data. A quality hosting plan also provides you with excellent caching plugins and CDN access that can have a significant effect on your website speed, which decreases the load on web servers.
- Robust security. Migrating or not, hackers have only one thing on their mind: finding loopholes in your WordPress website and taking advantage of them. A quality host provides you with additional layers of security, multiple backups, automatic updates, SSL certificates, regular scans, web firewalls, and protection from DDoS attacks.
In terms of security, Google now wants every website to have a safe SSL connection. This is why we believe that an SSL certificate should be standard in a hosting package, and no one should overcharge you for it if you’re not looking for a high-end EV SSL certificate.
But most website owners are not aware of that, which is why some hosting services deliberately take advantage of that and try to charge you more for a standard SSL certificate.
Having a proper SSL certification is one of the crucial steps to avoid WordPress migration pitfalls. Even if the hosting company doesn’t offer you one in the package, you just need to give the proper certificate details to your new hosting provider support, and they should be able to handle it.
Low-priced WordPress hosting plans are everywhere, and most of them offer regular scans, updates, backups, and installations as standard. However, choosing a premium plan can make a distinguishable difference when it’s backed by additional options, such as 24/7 support, a private virtual server, usage of caching plugins, a web app firewall, and much more.
One of the biggest attributes of high-end hosting providers are customized packages for premium enterprise clients. When it comes to a customized enterprise hosting solution for your WordPress website, we recommend Pagely.
Their enterprise hosting platform offers you a scalable solution with multi-region redundancy and enterprise grade-security.
3. Create a Full Backup
Before you begin the migration process, it is important to create a backup of your WordPress site. A backup can serve two purposes:
- You’ll have a copy of your website. You need to upload the content of your website to your new host/domain.
- You’ll avoid mishaps. If something goes wrong during the migration, you can always restore your original files and start again.
In most cases, backing up a WordPress website involves two parts:
- Copying database(s). Your content is stored in databases that are formed from tables where the data is placed.
- Copying static files. Static files are the pillars of your website that include basic WordPress files, theme files, and CSS files.
You have multiple options to perform a backup. First, you can use a plugin such as BackupBuddy that can help you back up your files with a few clicks.
After you download, install, and configure the plugin, navigate to BackupBuddy -> Backups page and click the (Full) Complete Backup button. This will back up your WordPress site’s database and files, zipping up the files and verifying the backup integrity.
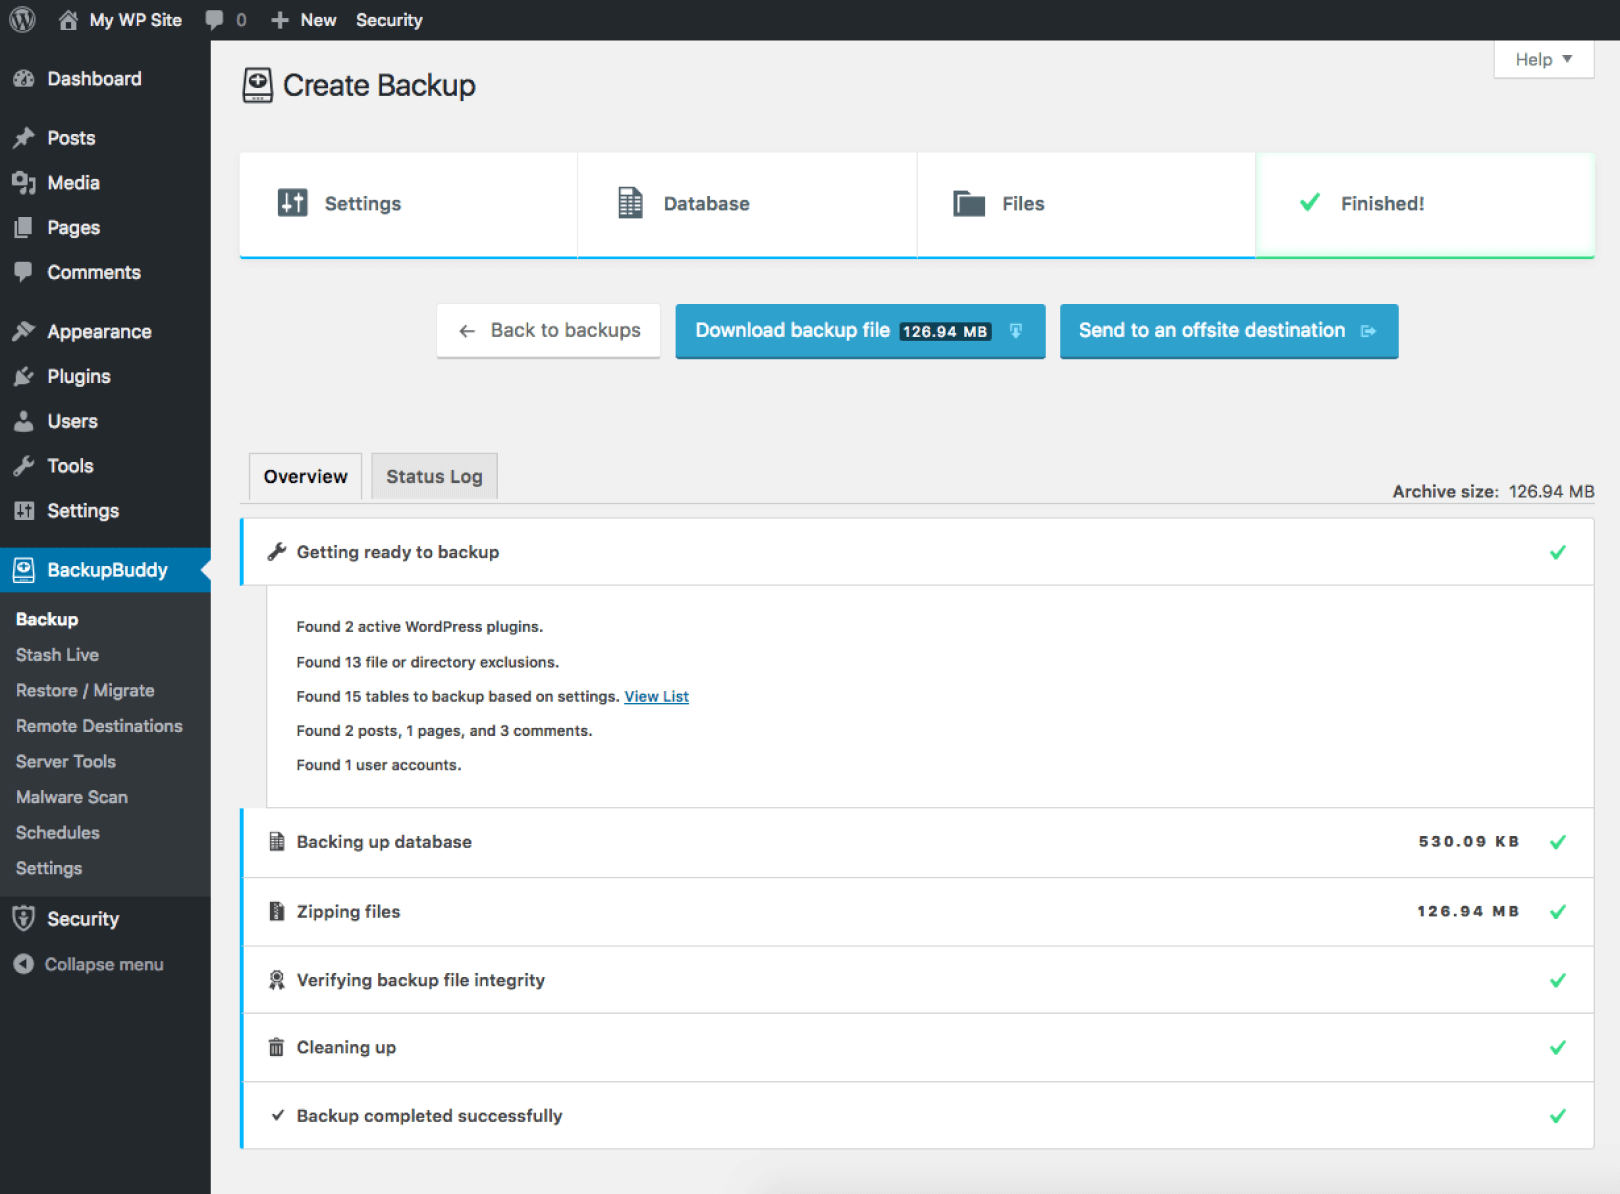
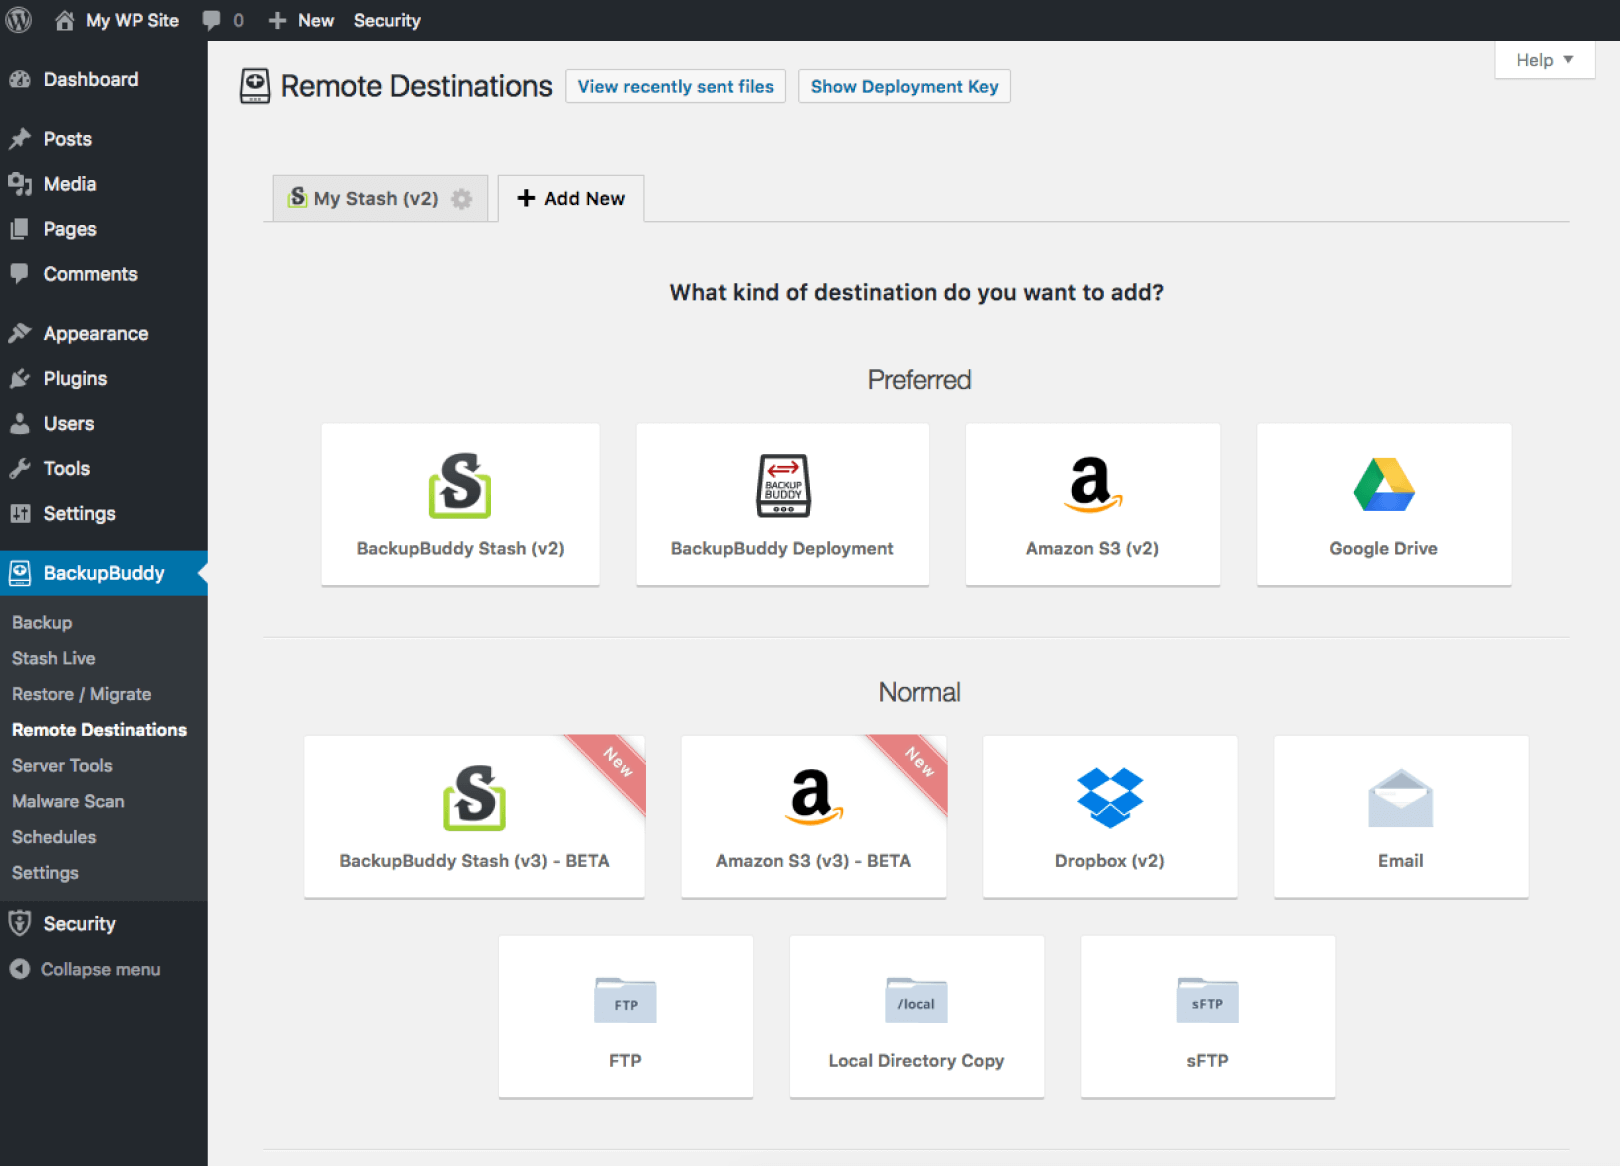
Your backup files will be stored safely off-site in a secure, remote storage location. From the BackupBuddy -> Remote Destinations page, you can configure your Remote Destinations settings.
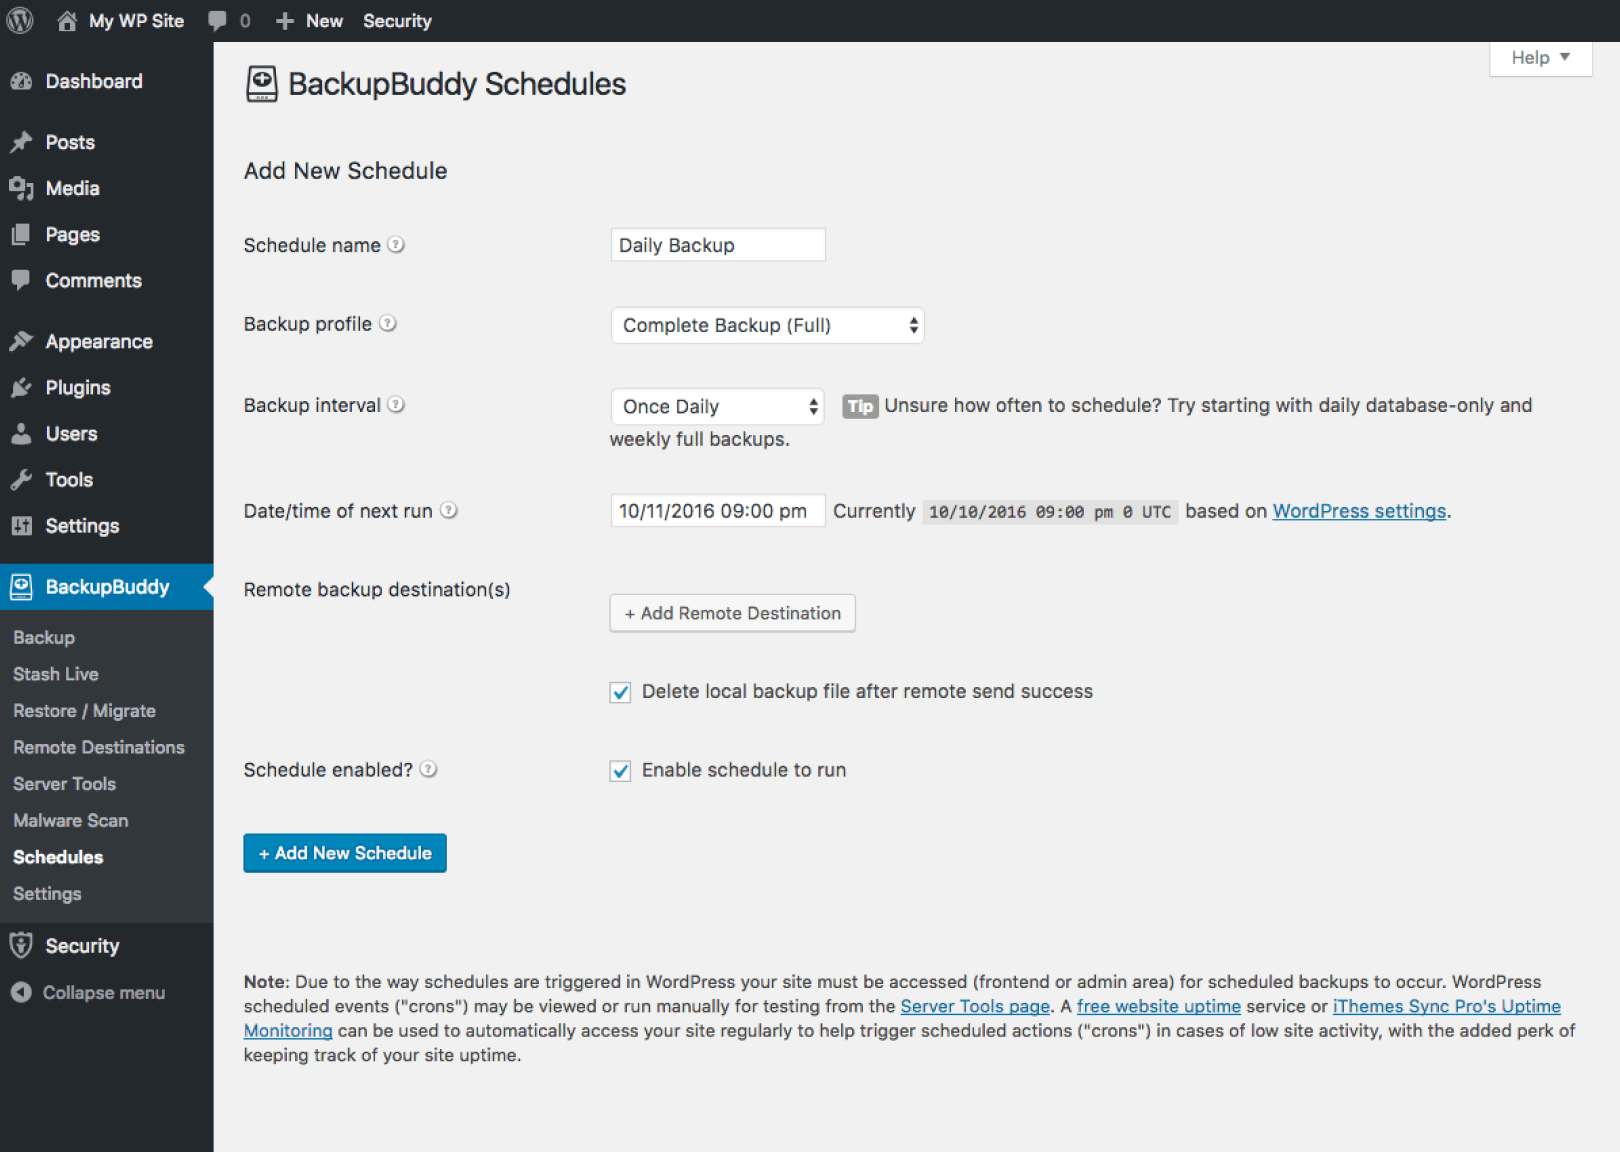
With BackupBuddy, you can also create backup schedules that will run automatically. Navigate to BackupBuddy -> Schedules page. Here, you can select the backup intervals and where to deliver backups once they are complete.
 Your second, manual, backup option is to use cPanel’s Backup Wizard.
There is a third option, of course, and it might be the hardest one – a manual backup through phpMyAdmin. Whatever your hosting package is, you must have access to your “phpMyAdmin”.
- Log into phpMyAdmin on your server.
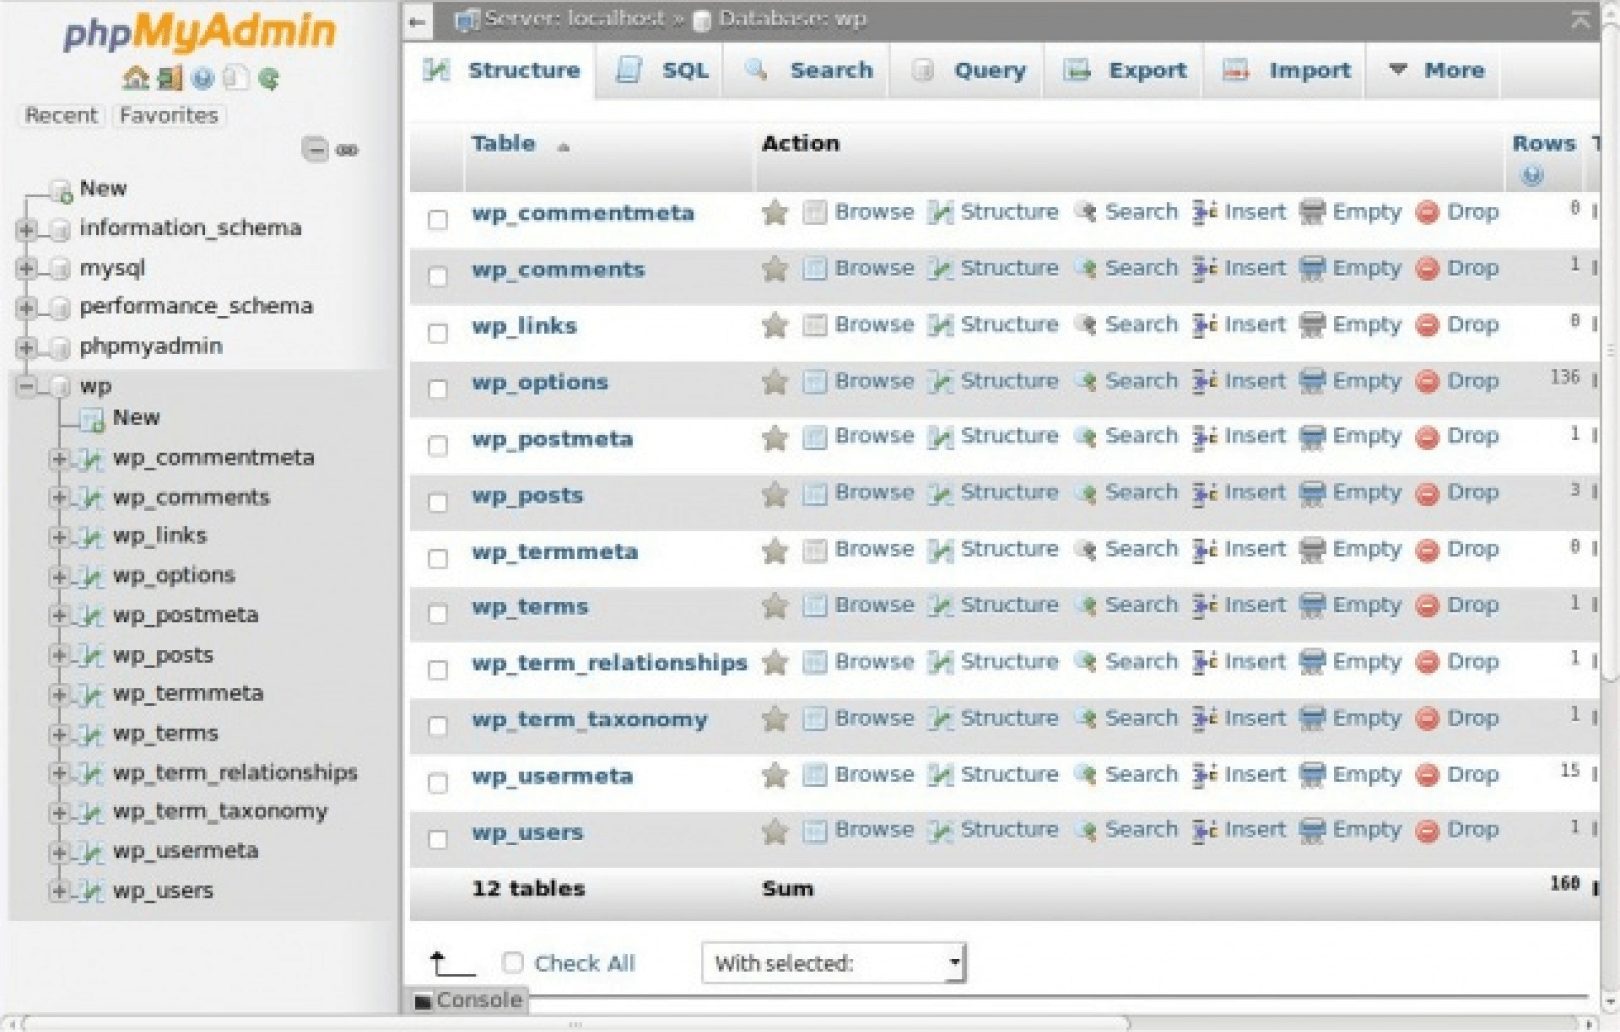
- From the left side window, select your WordPress database. In this example, the name of the database is “wp”.
- The right side window will show you all the tables inside your WordPress database.
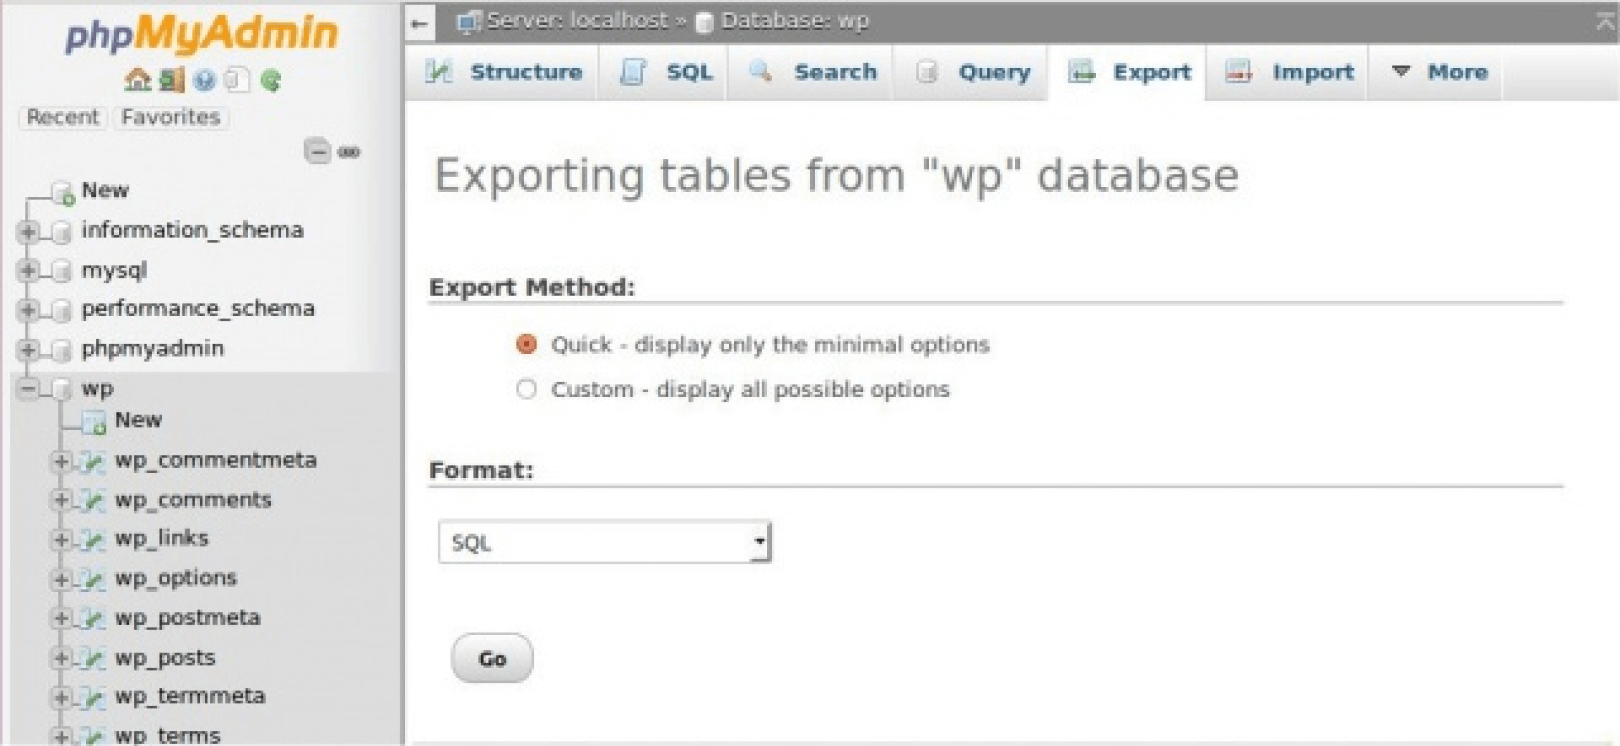
Click the ‘Export‘ tab on the top set of tabs.
Ensure that the Quick option is selected, and click ‘Go’ and you should be prompted for a file to download. Save the file to your computer.
Depending on the database size, this may take a few moments.
With the phpMyAdmin backup, you need to use an FTP client to transfer the files from your web server to your computer. If you don’t have an FTP client, you can download FileZilla, which is free, and connect it to your server.
Prevent File Permissions Risks
Transferring files from one host to another means that the file permissions are moved as well. If you’re not careful and you choose a low-level hosting provider, it can result in having file permissions set as 777, which in UNIX terms means that everyone has access to the files.
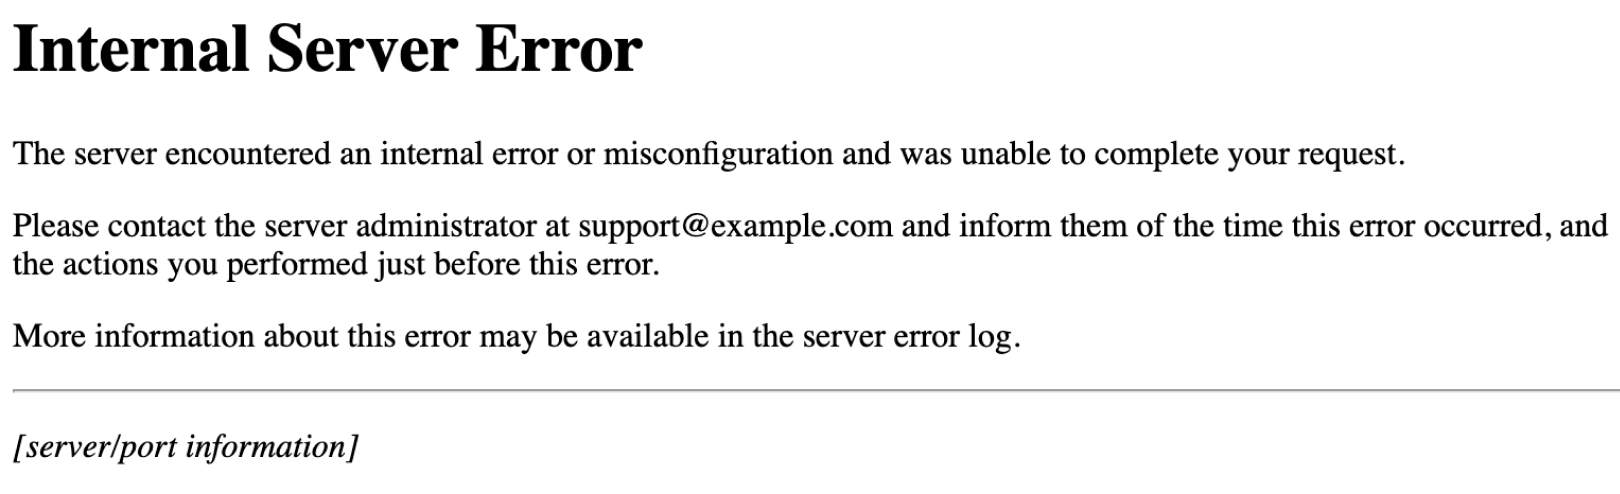
This type of file permissions represent a serious security risk, and switching to a quality hosting provider that prevents this can result in an “Internal Server Error.”
If you have SSH access to your server, you can alter the file permissions with the subsequent command:
chmod -R 644 /path/to/folder/
Alternatively, you can resolve this by creating a new .htaccess file and refresh your permalinks.
Open your WP root directory in FileZilla or whichever FTP client that you prefer to use. Open the public_html folder, where you can find the wp-admin and wp-content folders. Somewhere in those two folders, your .htaccess file resides. If you don’t see it immediately, click “Server” and then select “Force Showing Hidden Files.”
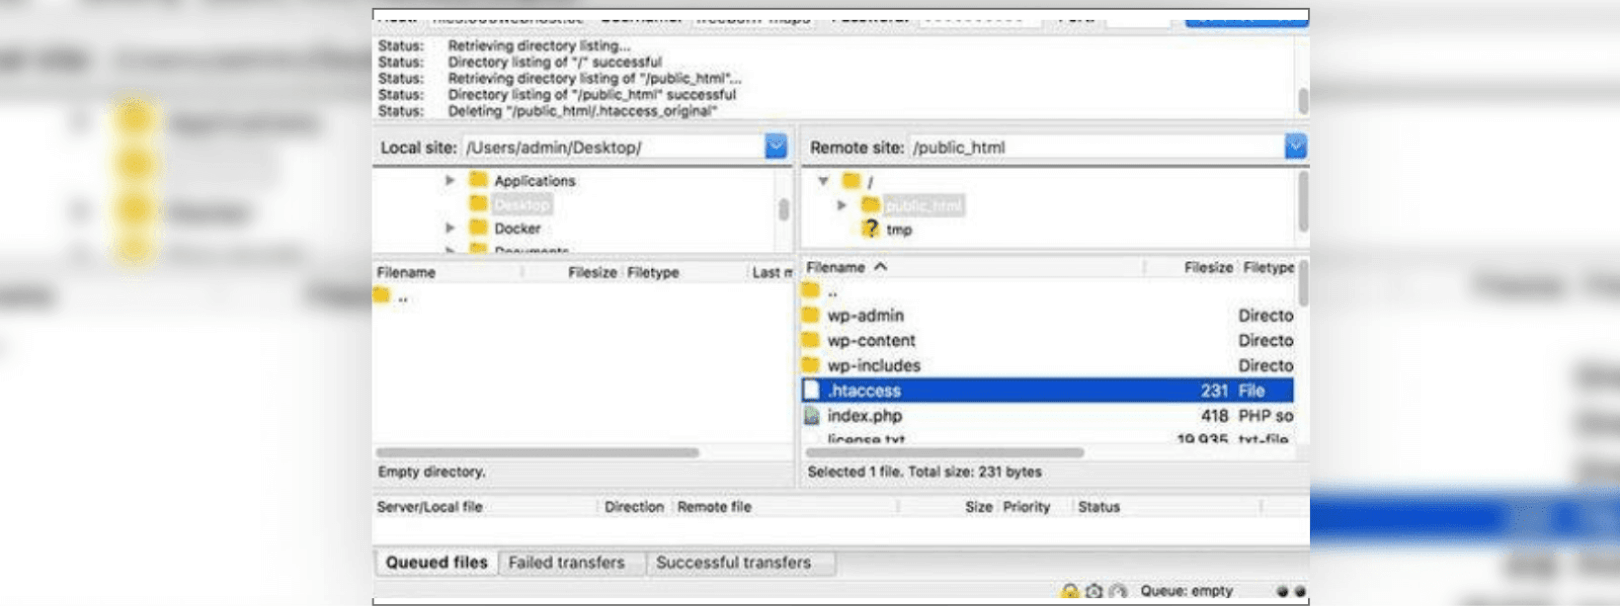
When you find the .htaccess file, rename it into “.htaccess.bak.” The file now exists as a backup with a .bak extension, but it won’t be taken into consideration by the server as it’s no longer a .htaccess.
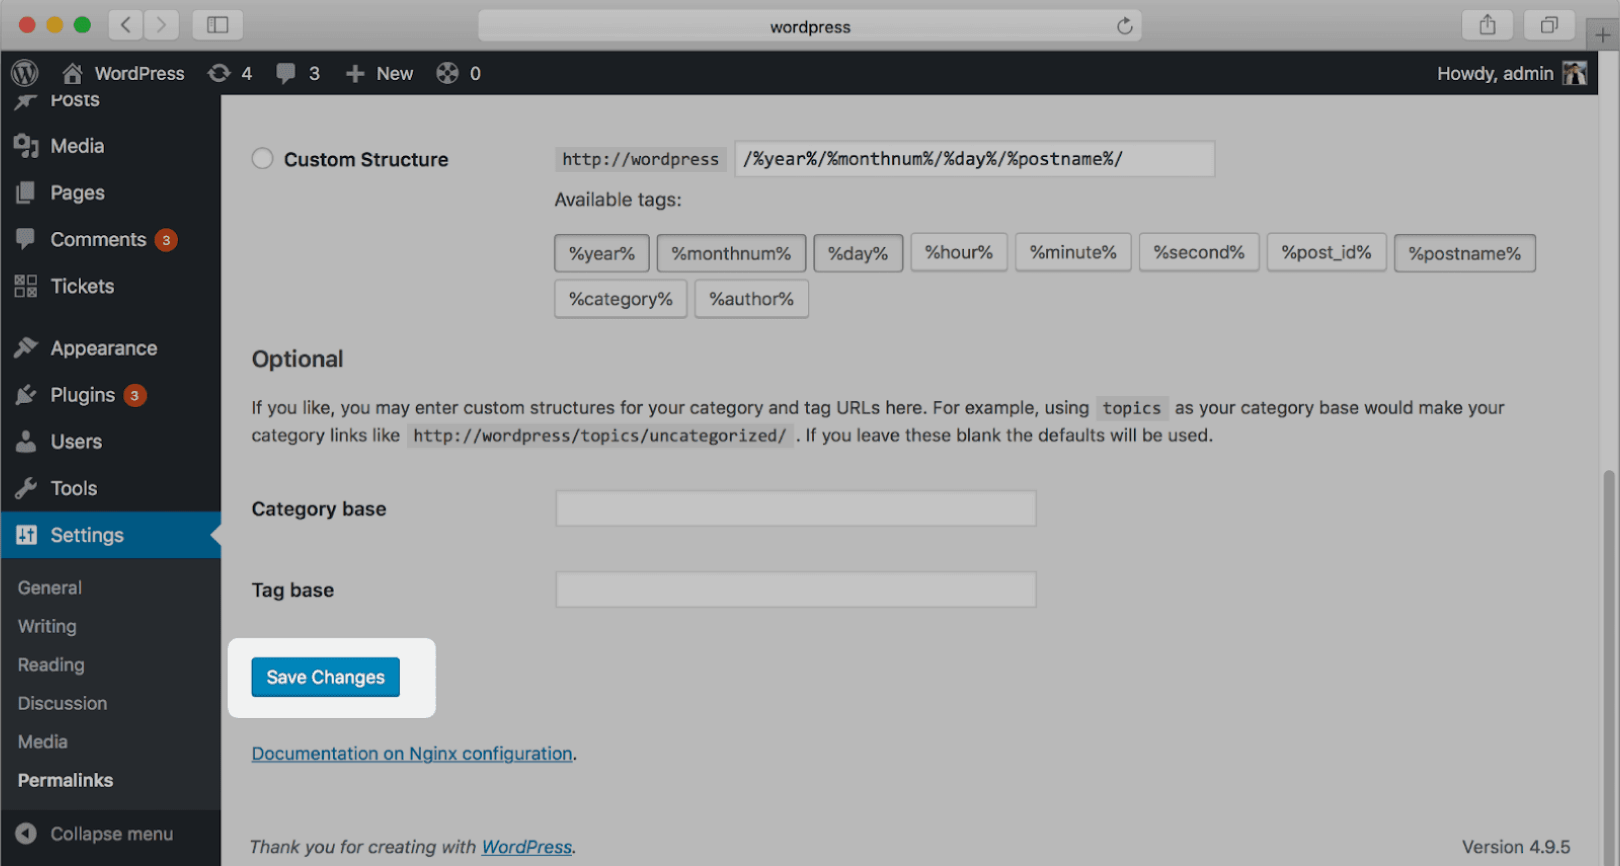
Next, go to your WordPress admin panel and go to “Settings.” Select “Permalinks.” Scroll to the bottom and click “Save Changes.”
To check whether you solved the problem, try to access your website again. Now, if the 500 Internal Server Error is not there anymore, it means that the problem was caused by a bad .htaccess file. But, if you still see the 500 Internal Server Error, you will have to dig a little deeper to find the cause and solve the problem.
4. Set Up Your New Database
If you want to move your WordPress site to a new domain, you’ll need to generate a new database on the new host, which also means creating a brand-new MySQL database.
Here’s how to perform this if you’re using Pagely as your WordPress hosting provider:
One of the methods is to connect to your Pagely VPS via SFTP. The instructions on setting up SFTP with Pagely can be found here.
Next, you need to place the content of your SQL file in the sites directory and NOT a directory further, because most of the directories further down will be a public, which in turn represents a huge security issue.
Once that’s done, click on your application name’s directory. This will be your public directory. You need to delete the contents of your wp-content directory, or the directory itself. Then add your wp-content folder via SFTP here.
/Sites/appName/
Using SFTP alone, you will not be able to import your SQL file. You will have to contact Pagely support to enable PhpMyAdmin. The support team will provide you with further instructions on how to navigate. Once they do, navigate to PhpMyAdmin and import your .sql file from your old host, and you’re all set!
Another method is to set up your new database through your CLI (Command Line Interface), and it is a procedure that requires technical and command line interface knowledge to execute it successfully.
Most of the hosting providers use WP-CLI (WordPress Command Line Interface) and it is by far the easiest option. To get a copy of your database, run the following command in your web root directory:
wp db export
This will result in an SQL file, which holds a copy of your database.
Whatever you do at this point, if you’re not sure about the steps, please don’t try anything by yourself. Hire a pro to help you out!
Transfer Plugins and Themes
As soon as you prepare your database, it is time to transfer the files from your old WordPress host to the new one. This implies copying all the content from the following folders:
- wp-content/themes: Your themes are located here. Make a copy of the contents of this folder, or you can use a new custom theme.
- wp-content/plugins: This is where all of your plugins are located. Again, copy all the contents to a new host. The plugin configs are saved in your WordPress database, and after you import the SQL file, everything needs to function properly with your new host.
- wp-content/uploads: This is where the media files of your Media Library are stored.
5. Update Your DNS (Domain Name Servers)
After you migrate your WordPress website, you need to update your DNS settings. This guarantees that your web visitors will be taken to the new web location when they type your domain in their browsers.
Updating your DNS with Pagely is effortless. First, you need to log in to atomic.pagely.com. Then go to Apps, select the “Settings” gear icon, scroll down and click “add domain.”
Click on the Mark Primary button to promote the alias.
This action will trigger a URL update and update at the CDN endpoint so it’s important that this is done.
Additionally, if you’d like to find/replace URLs on the site, you can use the Better Search Replace plugin.
6. Don’t Lose Your SEO
A perfect WordPress website migration process is one that leaves everything intact, including your good search rankings. To go through the procedure effectively, you’ll need to do a couple of things:
- Set up 301 redirects to send all traffic from your old domain to your new one.
- Notify Google that you’ve changed your domain name.
A 301 redirect is a permanent redirect from one URL to another. It sends site visitors and crawl bots to a different URL than the one they originally typed into the browser or clicked from a SERP. This is vital if you want to keep the web traffic and the links from a given page.
For instance, everyone that goes to oldwebsite.com/example will be automatically newwebsite.com/example.
To create 301 redirects, you need to alter the .htaccess file for your old site and include the following code:
#Options +FollowSymLinks
RewriteEngine on
RewriteRule ^(.*)$ http://www.newdomain.com/$1 [R=301,L]
Once you add the code to your .htaccess file, make sure that the 301 redirects are working properly by opening a page from your old domain.
Setting up 301 redirects is really useful, however, if you want to retain the users that keep entering your old URLs, you need to keep paying for that domain. Moreover, having your old domain active is a small price to pay to retain the good SEO score and high traffic until every user learns about the new address of your website.
Tell Google That You’ve Migrated
Failing to notify Google that you’ve migrated your site is among the most common WordPress migration mistakes. If you want to retain your search engine ranking, you need to perform this step. Simply go to Google’s Search Console and open your old domain name Property. Next, you need to click on Settings and then Change Address.
Additionally, you can also open a new GA (Google Analytics) account for your new domain name, as well as update the links in the About section of your social media profiles.
Wrapping it Up
Migrating a WordPress website from one location to another requires serious work. But, if you conduct all the steps mentioned above, you can avoid some serious WordPress migration mistakes that can wreak havoc for your website migration, SEO, and web presence.
Website migration is a process that requires effort, patience, and above all, technical expertise with the WordPress code. Don’t work on assumptions if you don’t know what you’re doing! If you have any additional questions and you need assistance, don’t hesitate to ask the DevriX team.
Team DevriX
This article is crafted by DevriX's seasoned marketing team, boasting over four decades of collective expertise in crafting sophisticated marketing funnels, devising comprehensive content frameworks and pillars, implementing engaging email campaigns, and creating impactful social media content designed for scalability.
Our marketing experts specialize in the complete spectrum of inbound marketing strategies. As an accredited HubSpot Agency Partner and a Semrush Partner, we engage in meticulous research, blending our extensive experience with the unique insights of our highly skilled team.
We set benchmarks in content creation by incorporating cutting-edge marketing trends, leveraging in-depth industry research, and utilizing state-of-the-art AI tools for data segmentation and captivating content hooks. Our proficiency extends across a diverse range of sectors, including working with SMEs, Fortune 1000 companies, global B2B brands, major publishing entities, WooCommerce platforms, business directories, and affiliate networks.